

The importance of floor levelling a floor prior to installation of flooring cannot be overstated. Prior to installation of a new flooring system except, in most cases for carpet, will require floor preparation. With floors that aren't level, bending and buckling of flooring materials that are top of the subfloor, is more likely to occur. Many people who install new flooring in their home or commercial buildings neglect to inspect the levelling of their concrete subfloor as they don't appreciate its importance, and this in most cases has their concrete slab with uneveness. Prior to a new flooring system installation, always insist that correct floor preparation is undertaken whatever the floorcovering. A level floor being the foundation of the flooring, will cause less stress on the materials in use above it and prevent any damage to it. In addition, the flooring may squeak or bounce when it's being walked on. It is precisely this bouncing and squeaking of floorboards that has put of a lot of people off buying laminate or timber laminate, engineered flooring. And yet the solution to this problem is found in the floor levelling.
With hybrid floating floors, floorlevelling is especially important. If the floor is uneven the locking system that holds the boards together can fail and thereby ruin the whole floor.
In order to arrive to a level substrate floor for the base of the floor covering for the best support, one must firstly inspect the subfloor. Subfloors onto which floorcoverings are to be installed are of various types and are as follows.
Timber boards or particle boards. They can be dried-out and uneven, having being down for a long time.
Timber boards or particle boards with another layer of masonite or plywood on top with either vinyl or ceramic tiles on top.
Bare concrete slab with a smooth level surface.
Bare concrete slab with a rough level surface or pitted surface or pitted and wet and damp surface.


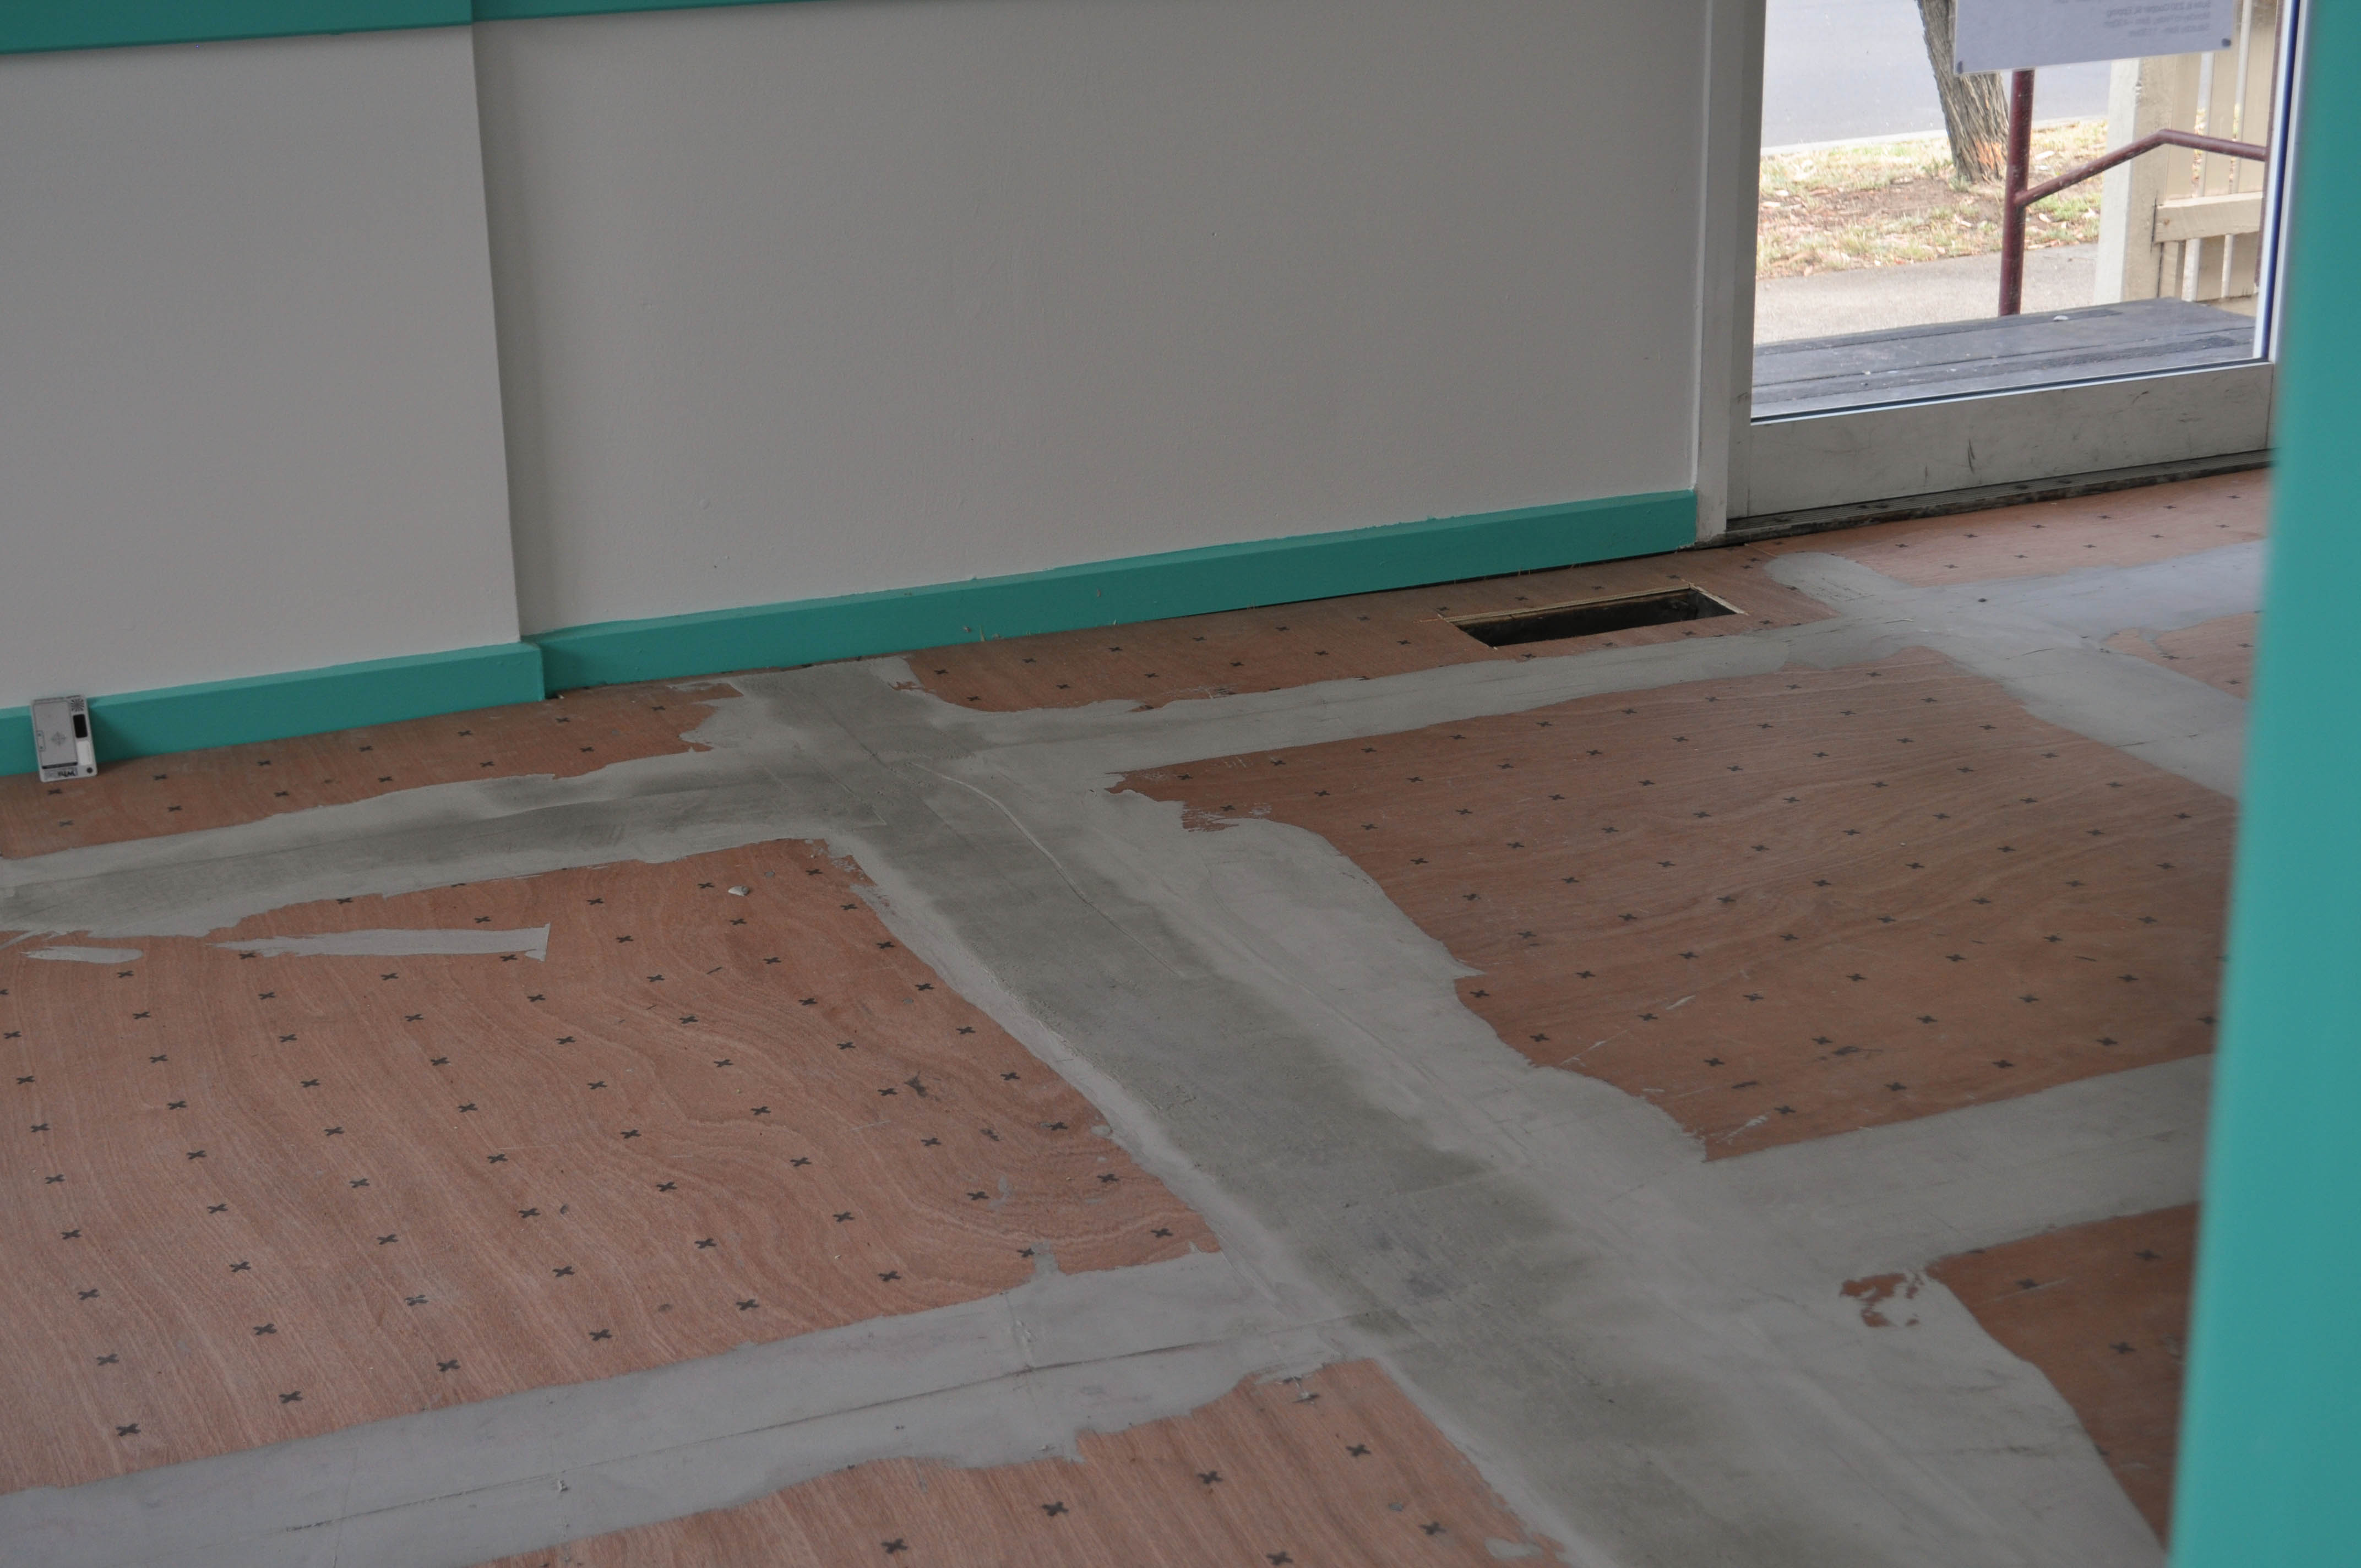
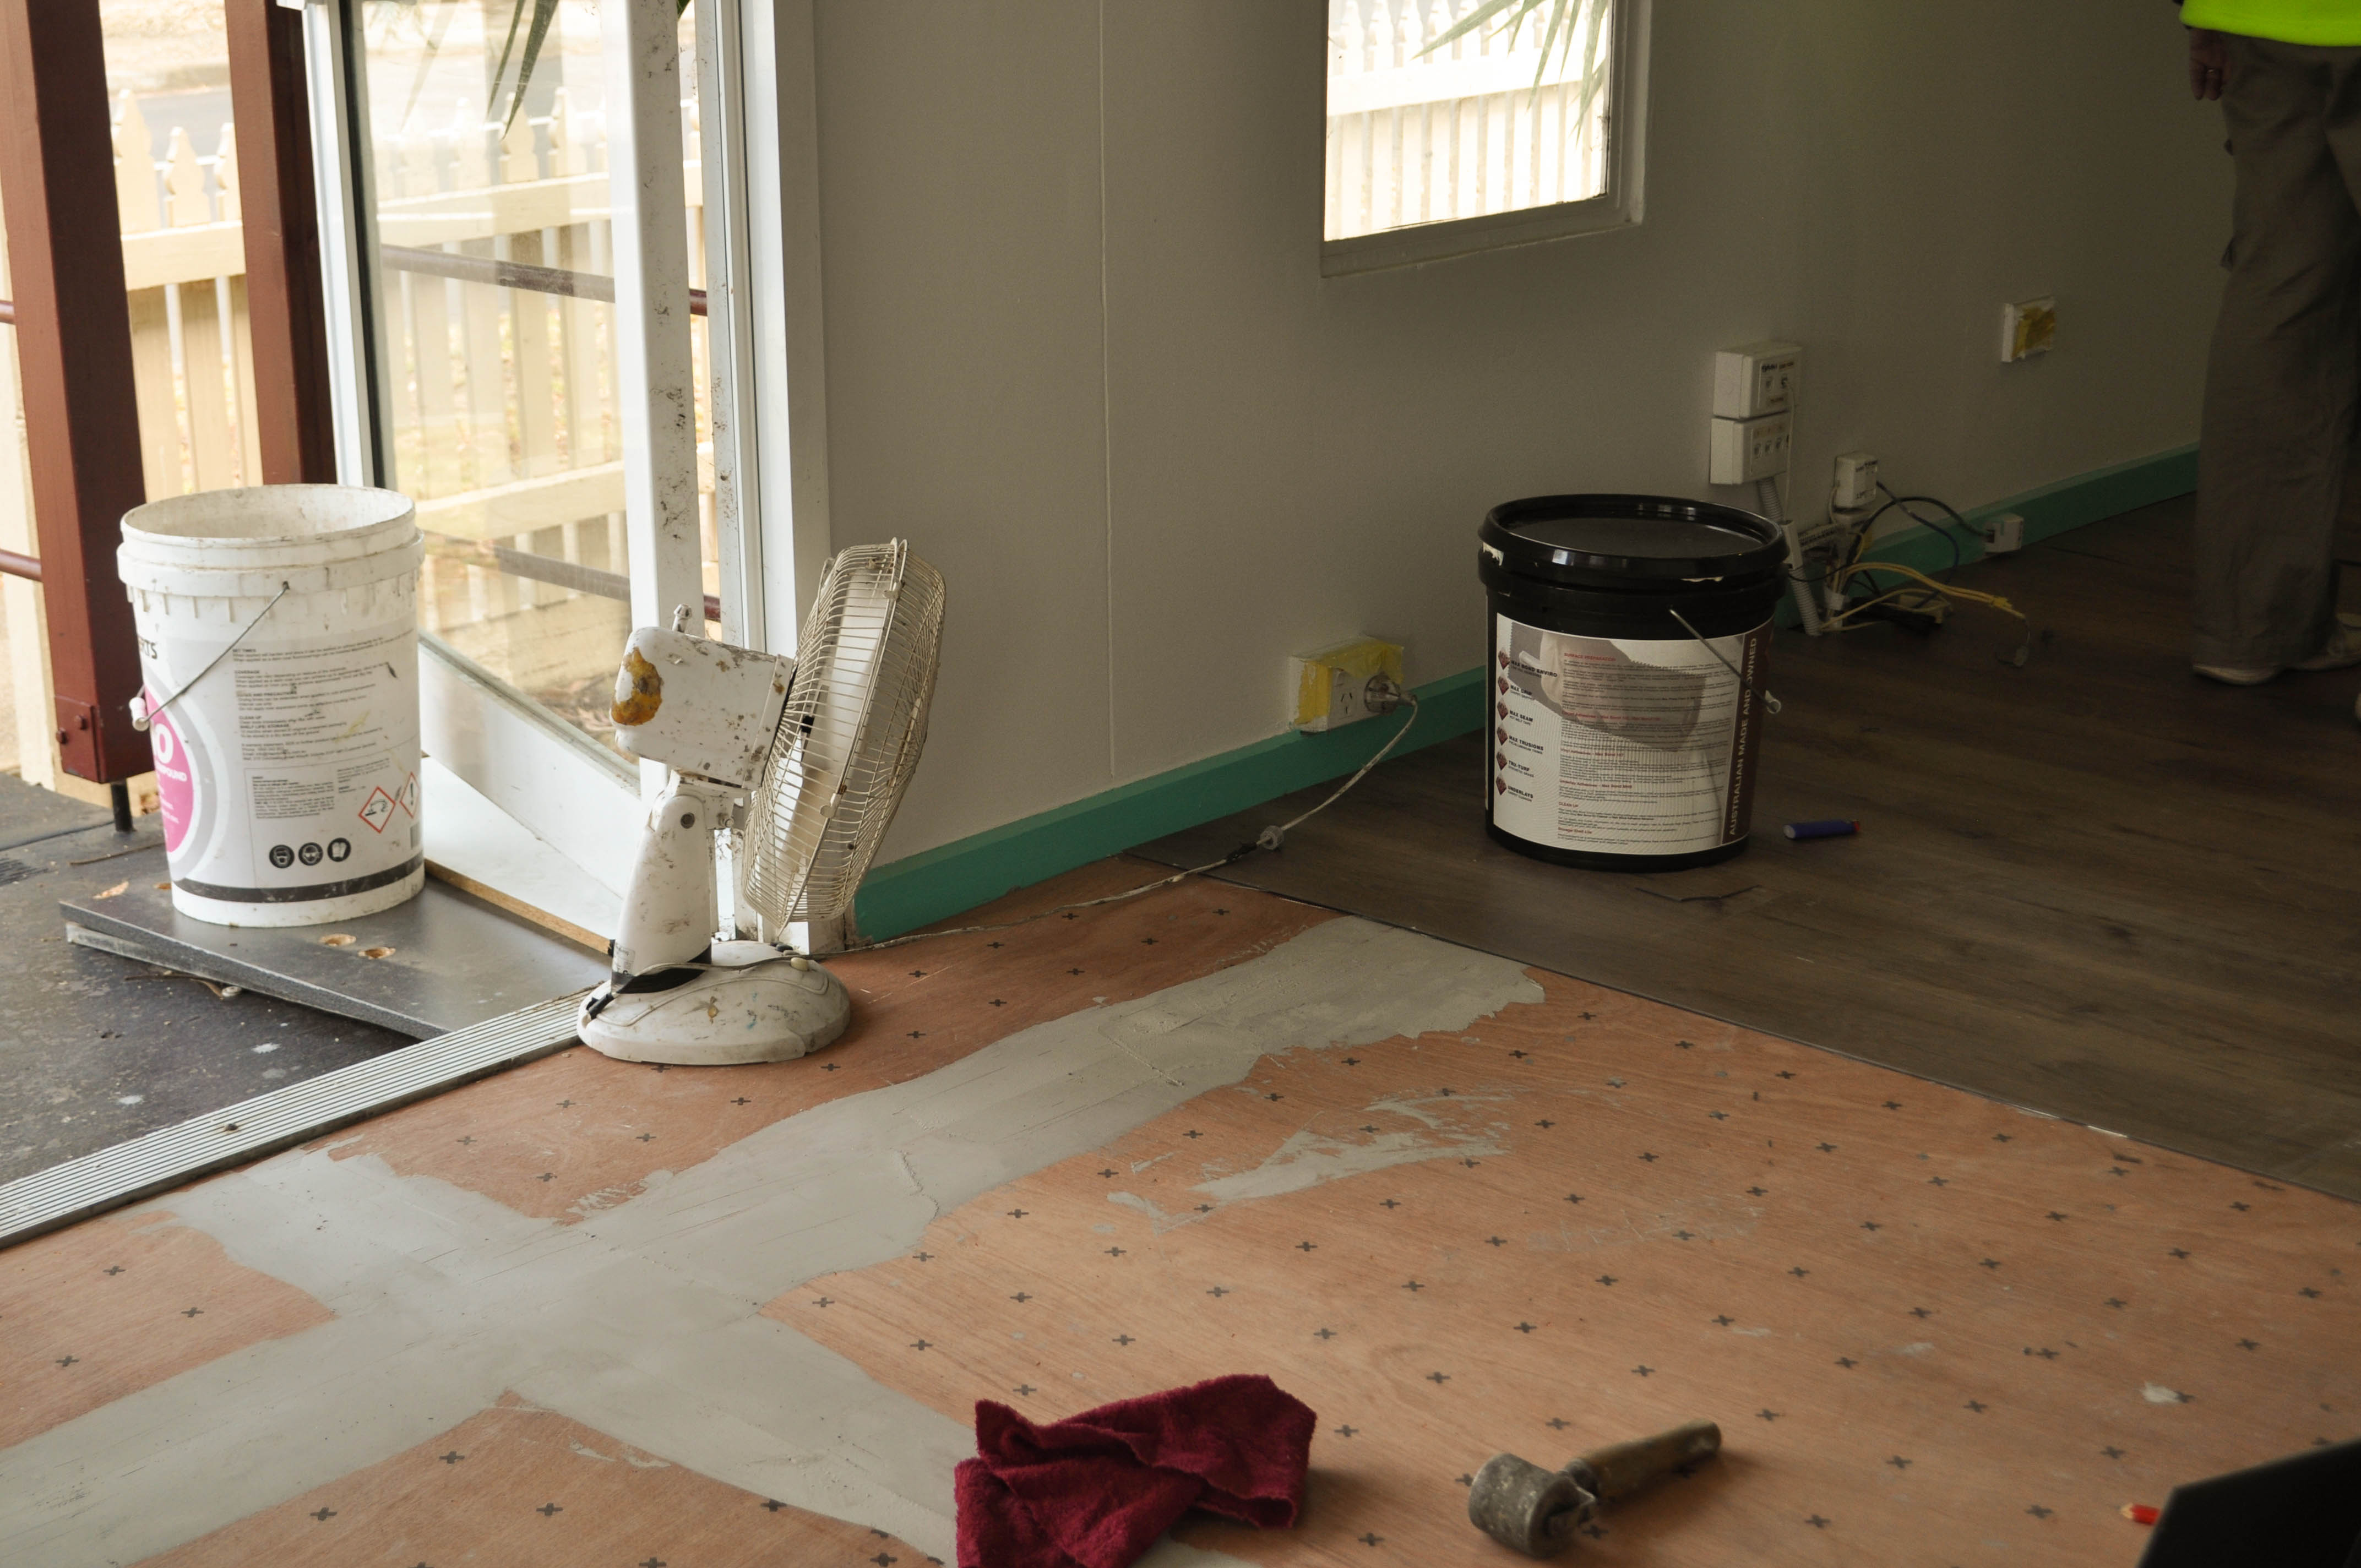
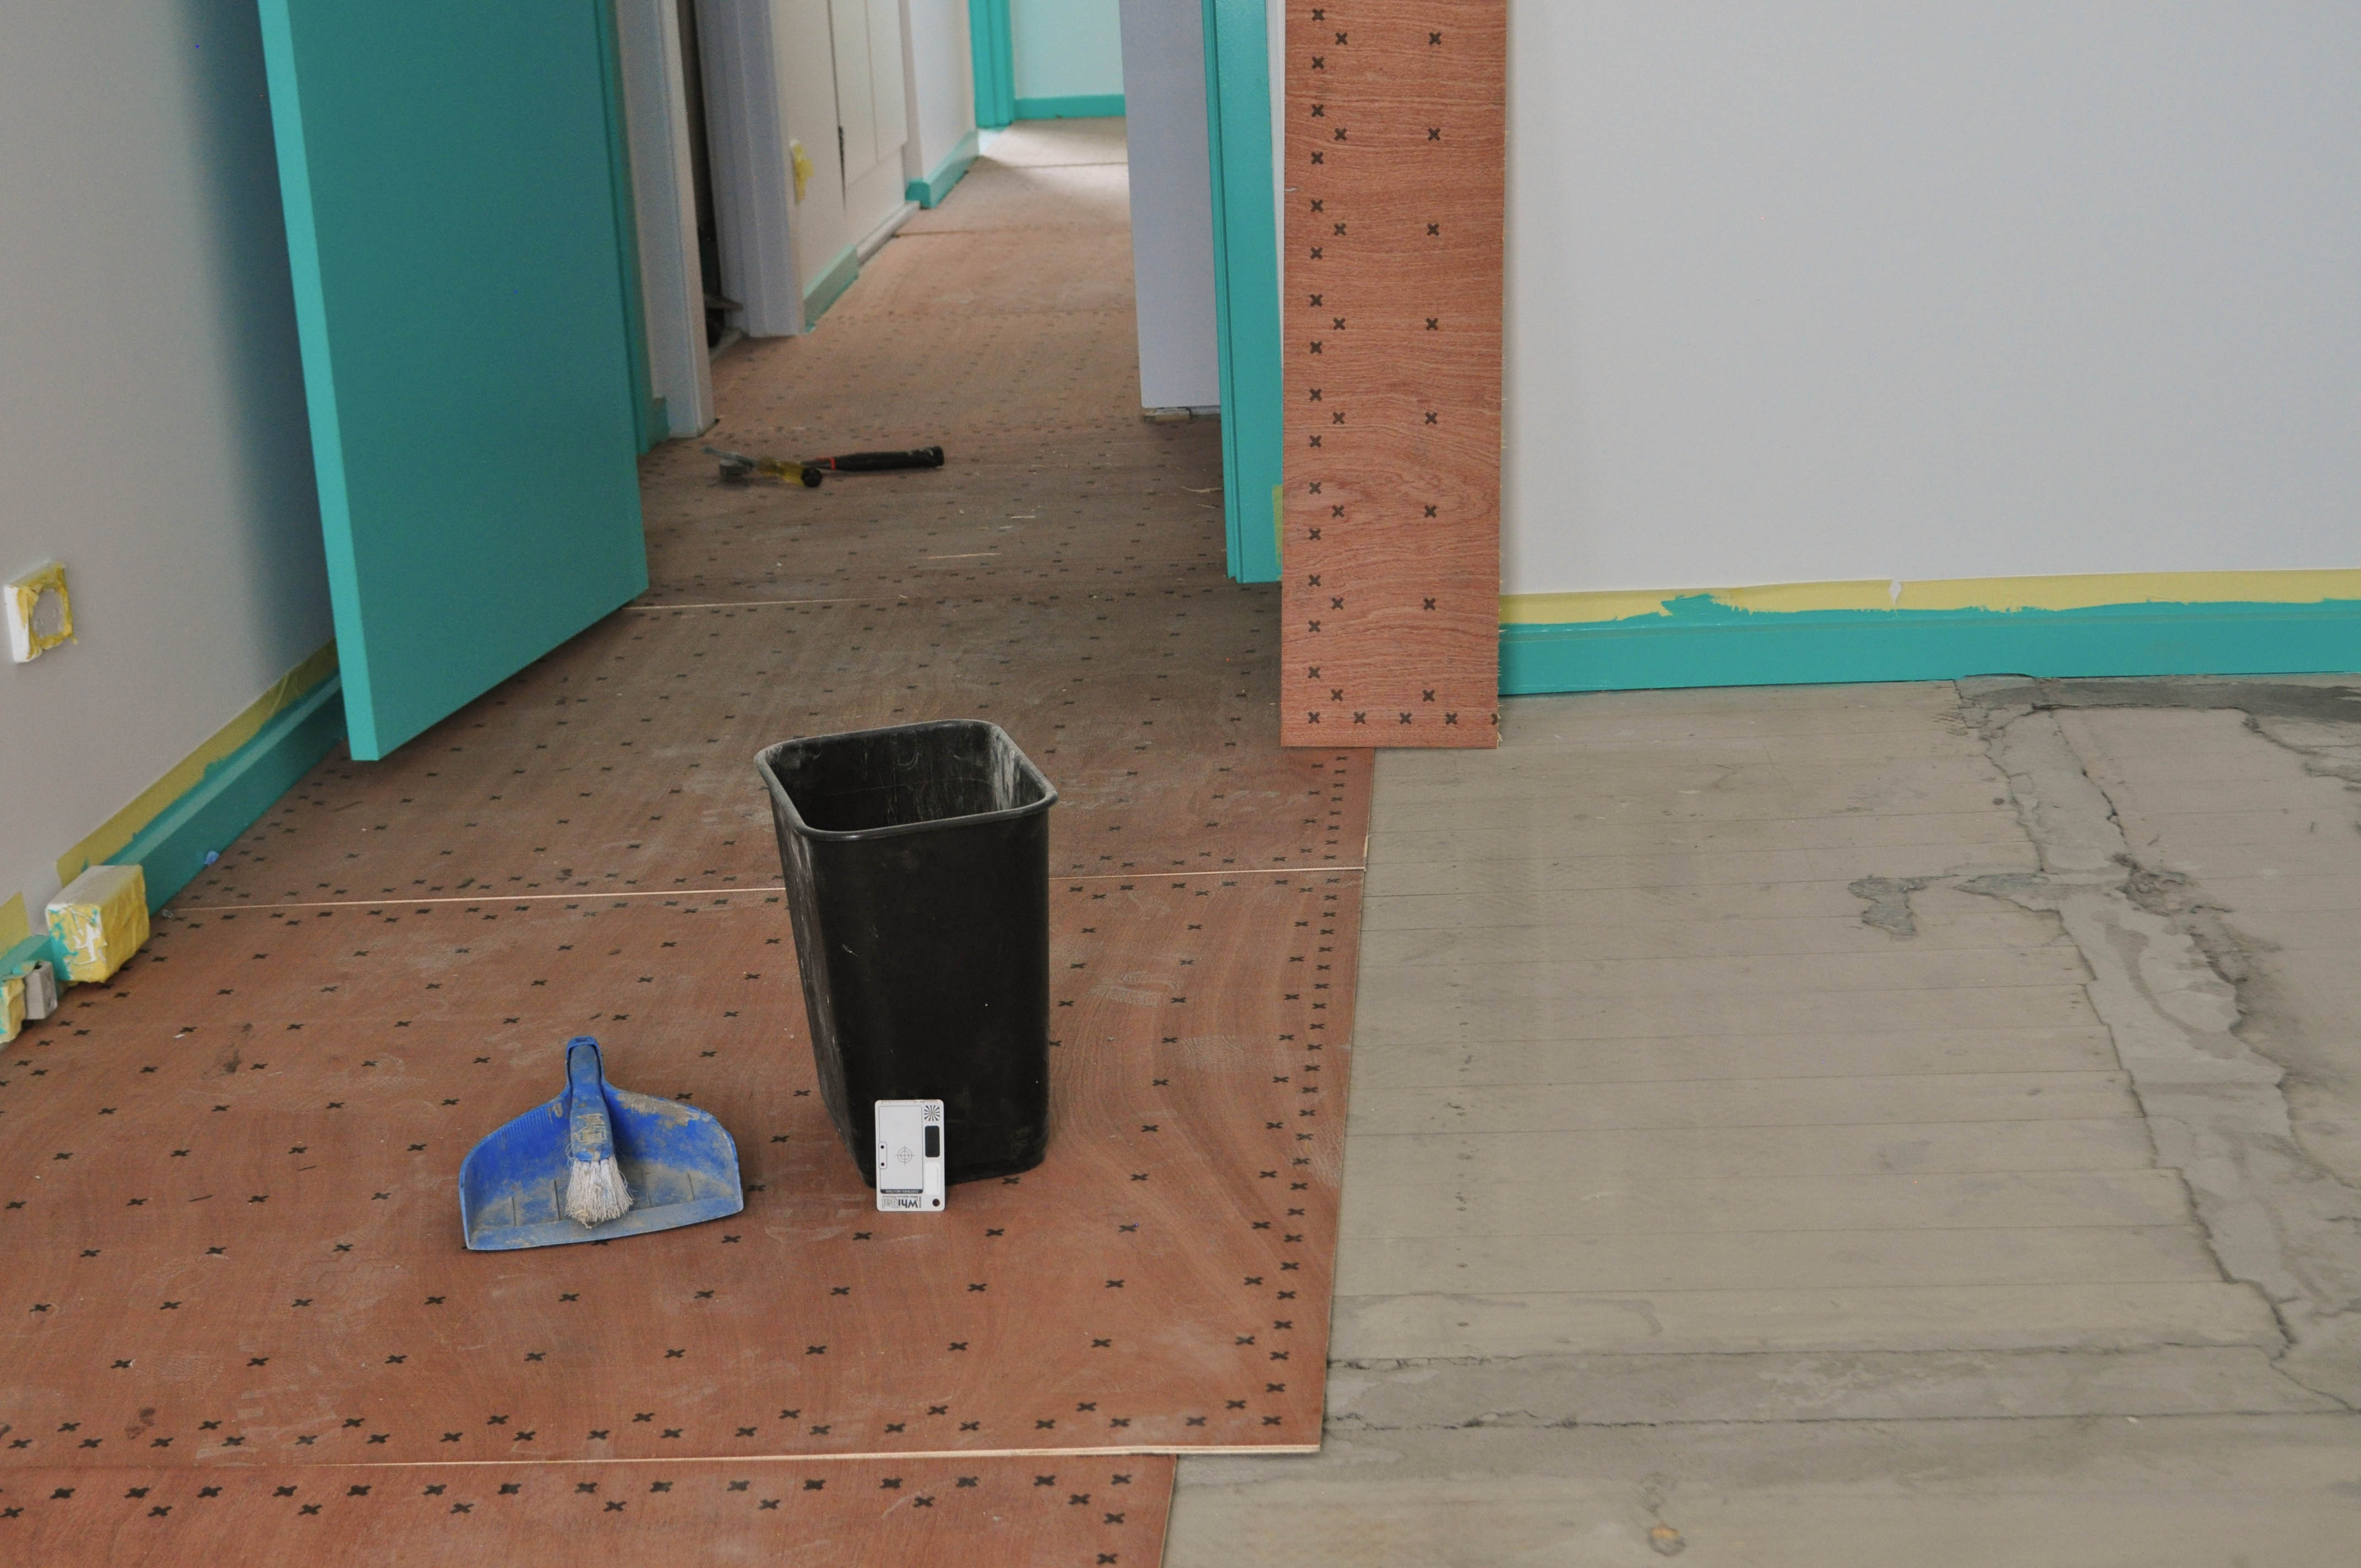
The majority of people when it comes to flooring installation in their home or commercial building omit to do an analysis of the levelling requirements of their concrete subfloor which is the foundation of their flooring project. So flooring materials are installed on an uneven subfloor which almost always has errors and comprising of dips and high spots or crowns. It is sensible practise before installing your new flooring system, to make the floor even and smooth by taking out these dips and crowns. Your new flooring system needs a clean, smooth, and porous slab to bond to. Any glue or cement residue or any minor bumps in the slab left between the concrete will affect the quality and durability of the new floor covering which is being installed and may result in the flooring system that you are installing failing.
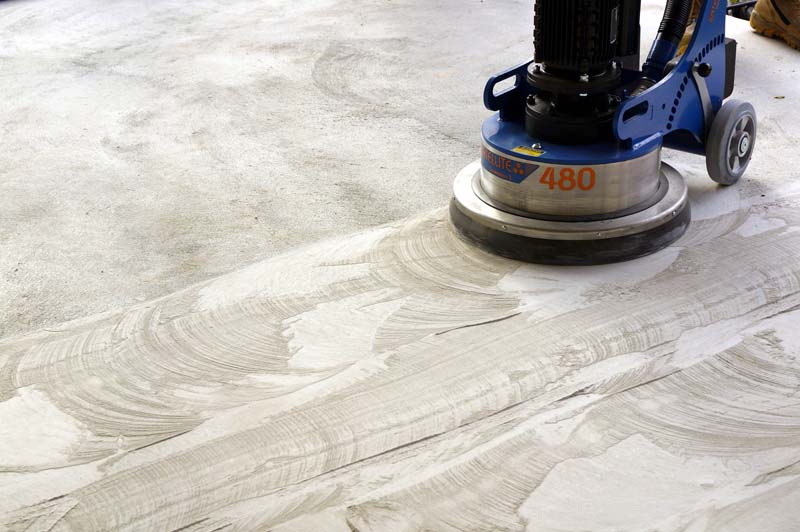
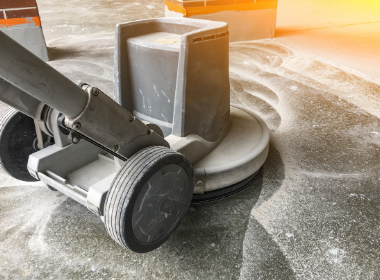
It is unreasonable to expect floor installers to deliver to you a proper job on which they can give you a warranty or even for them to do your project if you have not had the concrete ground down. Concrete grinding is an eessential part of the project to remove any glue residue, paint, and to even up your floor so that you don't have trip hazards in the finished floor and to enable a clean installation of your new flooring system. It is mandatory if the floors are going to be polished, or have vinyl installed on top of it. Polishing exposes the concrete subfloor and you will lose some of the concrete's beauty if the floor is not properly prepared. Concrete grinding the floors prior to the application of all flooring materials, is the single biggest way to ensure the longevity of the floors as well as to ensure that you get your warranty from the contractor that you chose to install your flooring system. Prior residues on a concrete slab especially must be removed as levelling compounds will fail to bond correctly with your concrete slab. So it is essential to not skip Concrete Grinding.
Where you choose to omit the concrete diamond grinding pocedure you can't count on and contractors' warranties on their workmanship. So refunds, free repairs or replacements are out of the question for you.
Concord Floors are experts in floor preparation. We provide for you people who who know their job at removing floor coverings, adhesives, and compounds that make the surface uneven and difficult to reinstall a new underlay or flooring system too. Our service is designed to provide a completely smooth and clean surface for our customers to do what they want. Our friendly team of experts is ready to assess your situation and consult with you on the best way to proceed with your Concrete Grinding project. Floor Levelling may not seem like an important step when putting in new flooring. However, the concrete that acts as a base for your flooring can often have high or low points which means your concrete is not completely smooth.
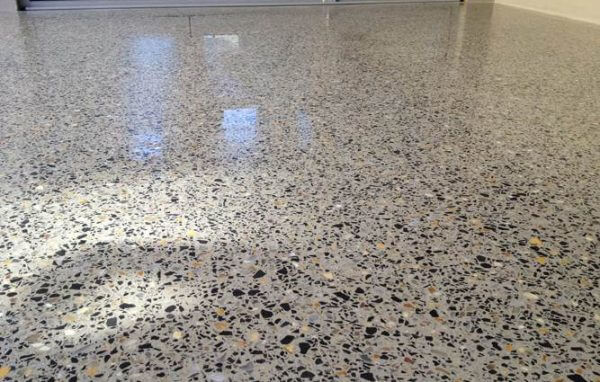
Our work below which show some of the principles levelling, grinding and sealing a concrete floor.
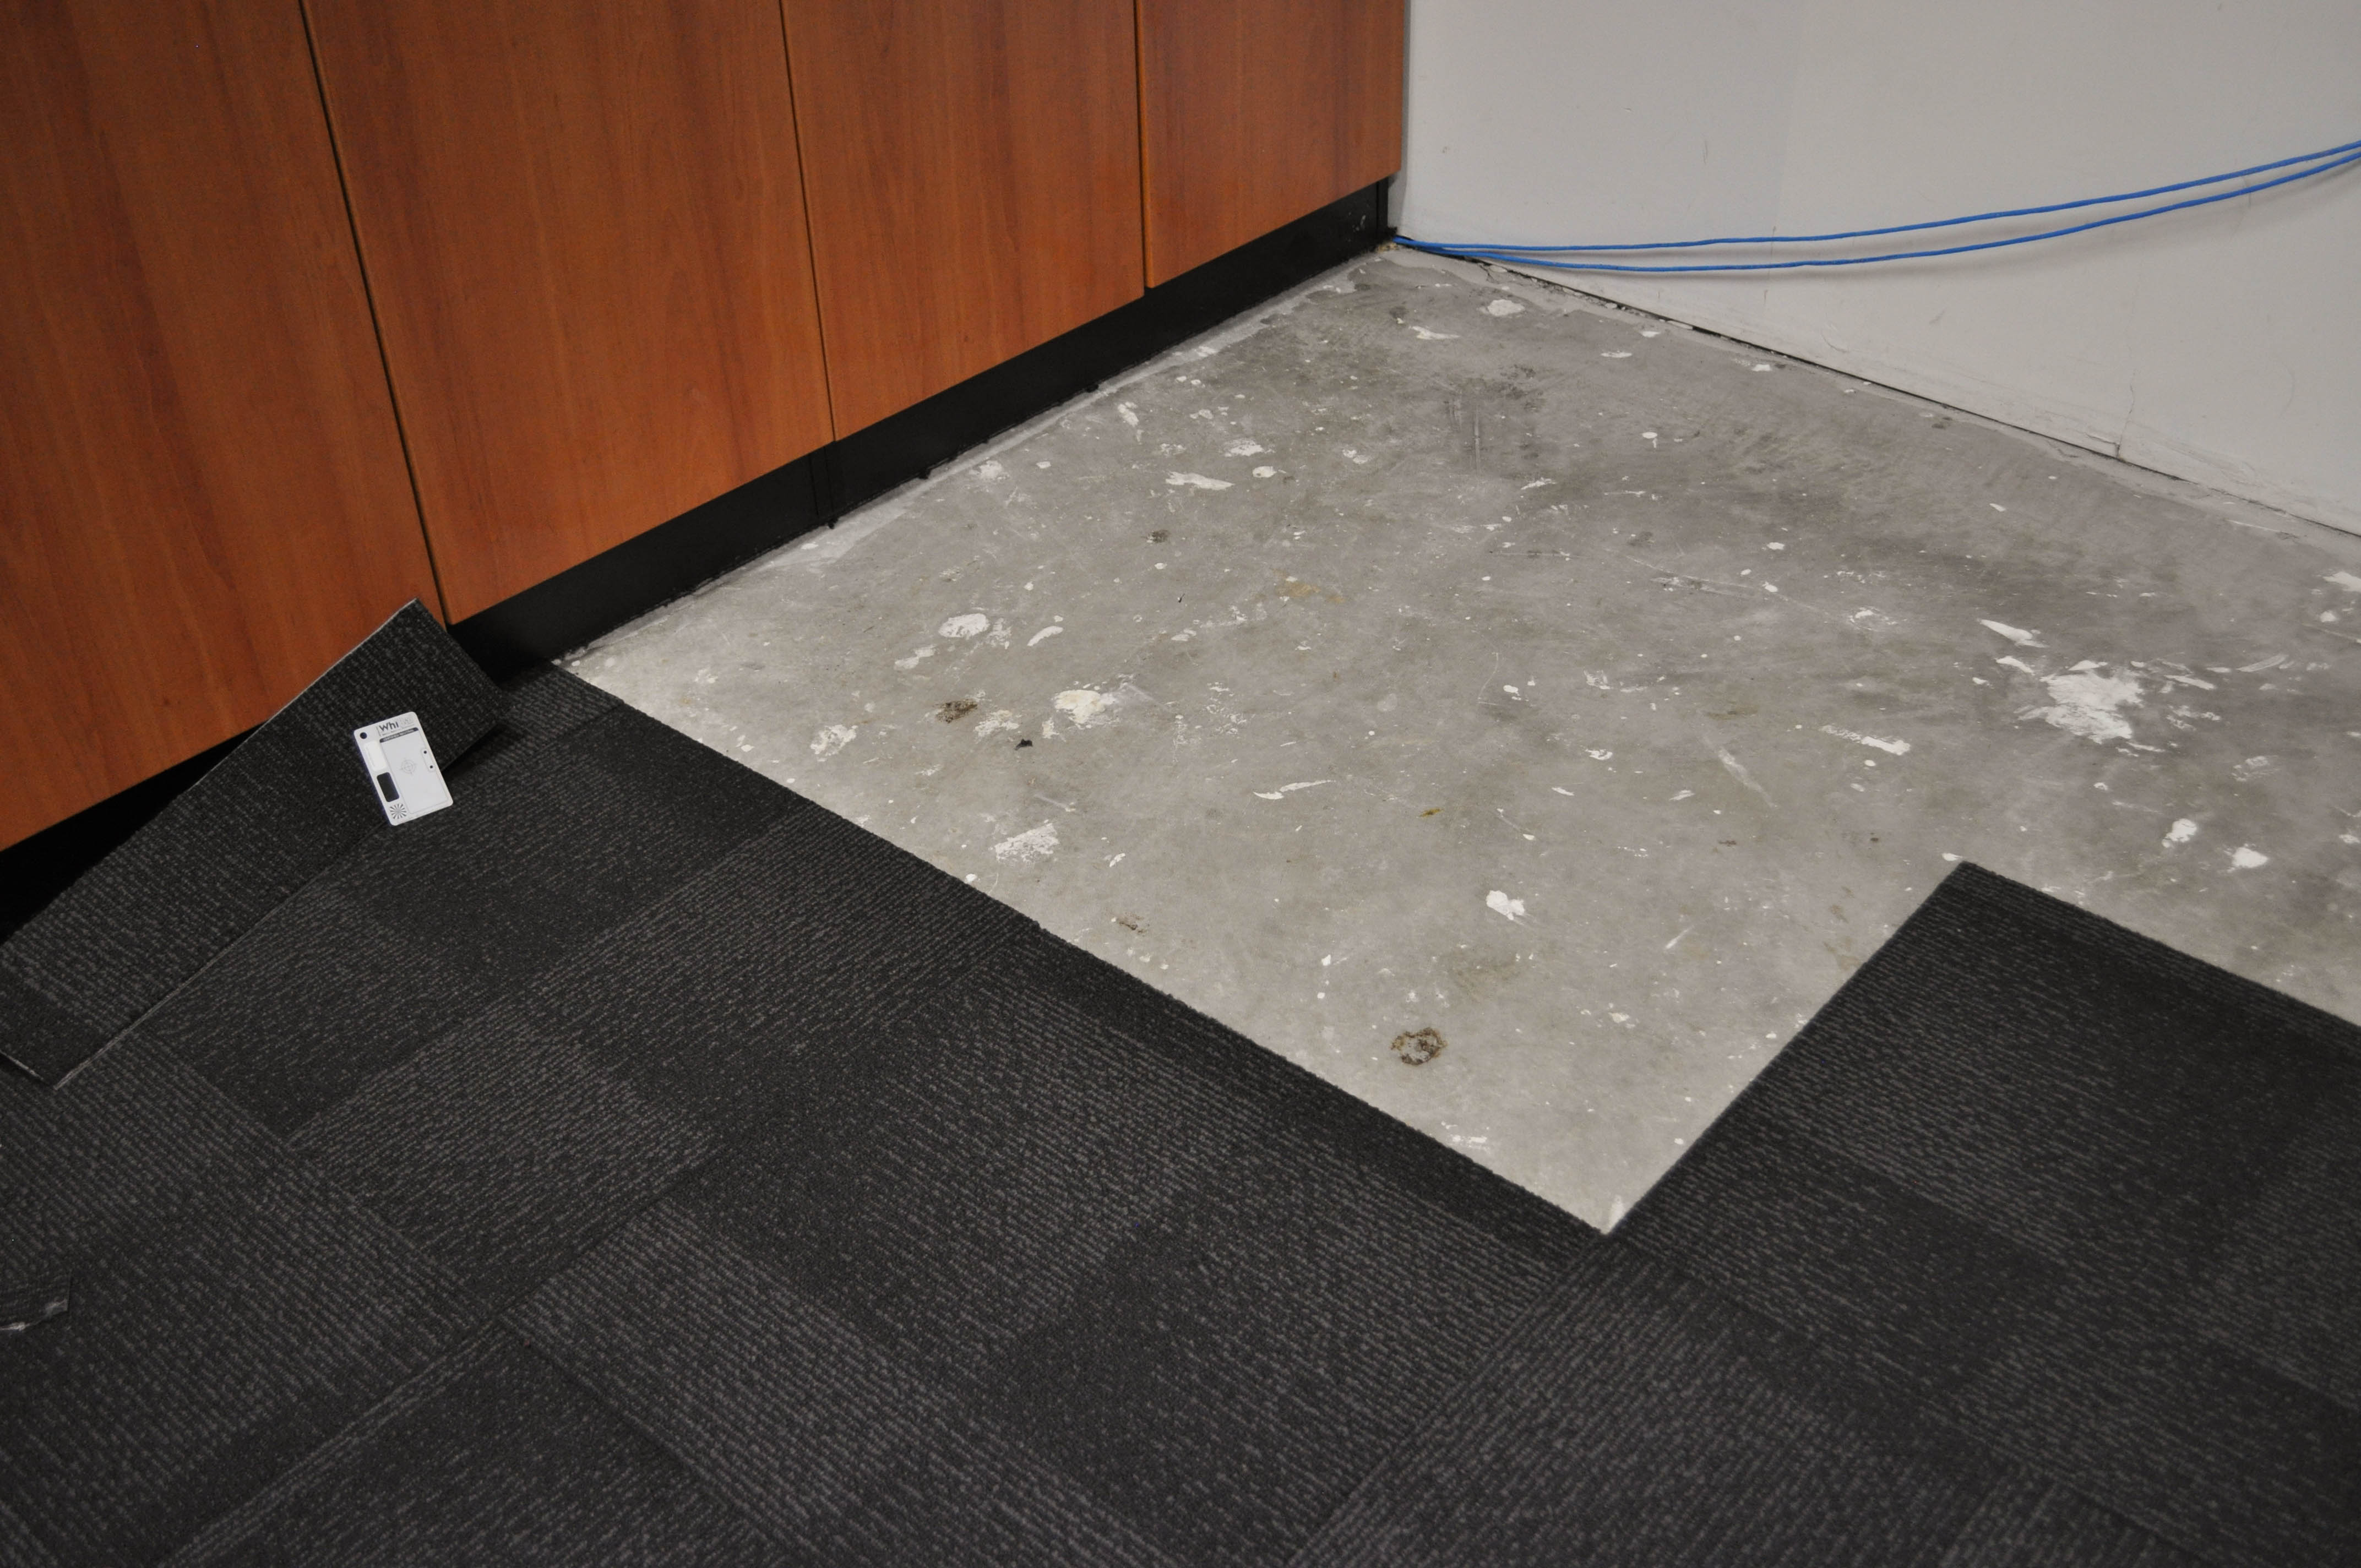
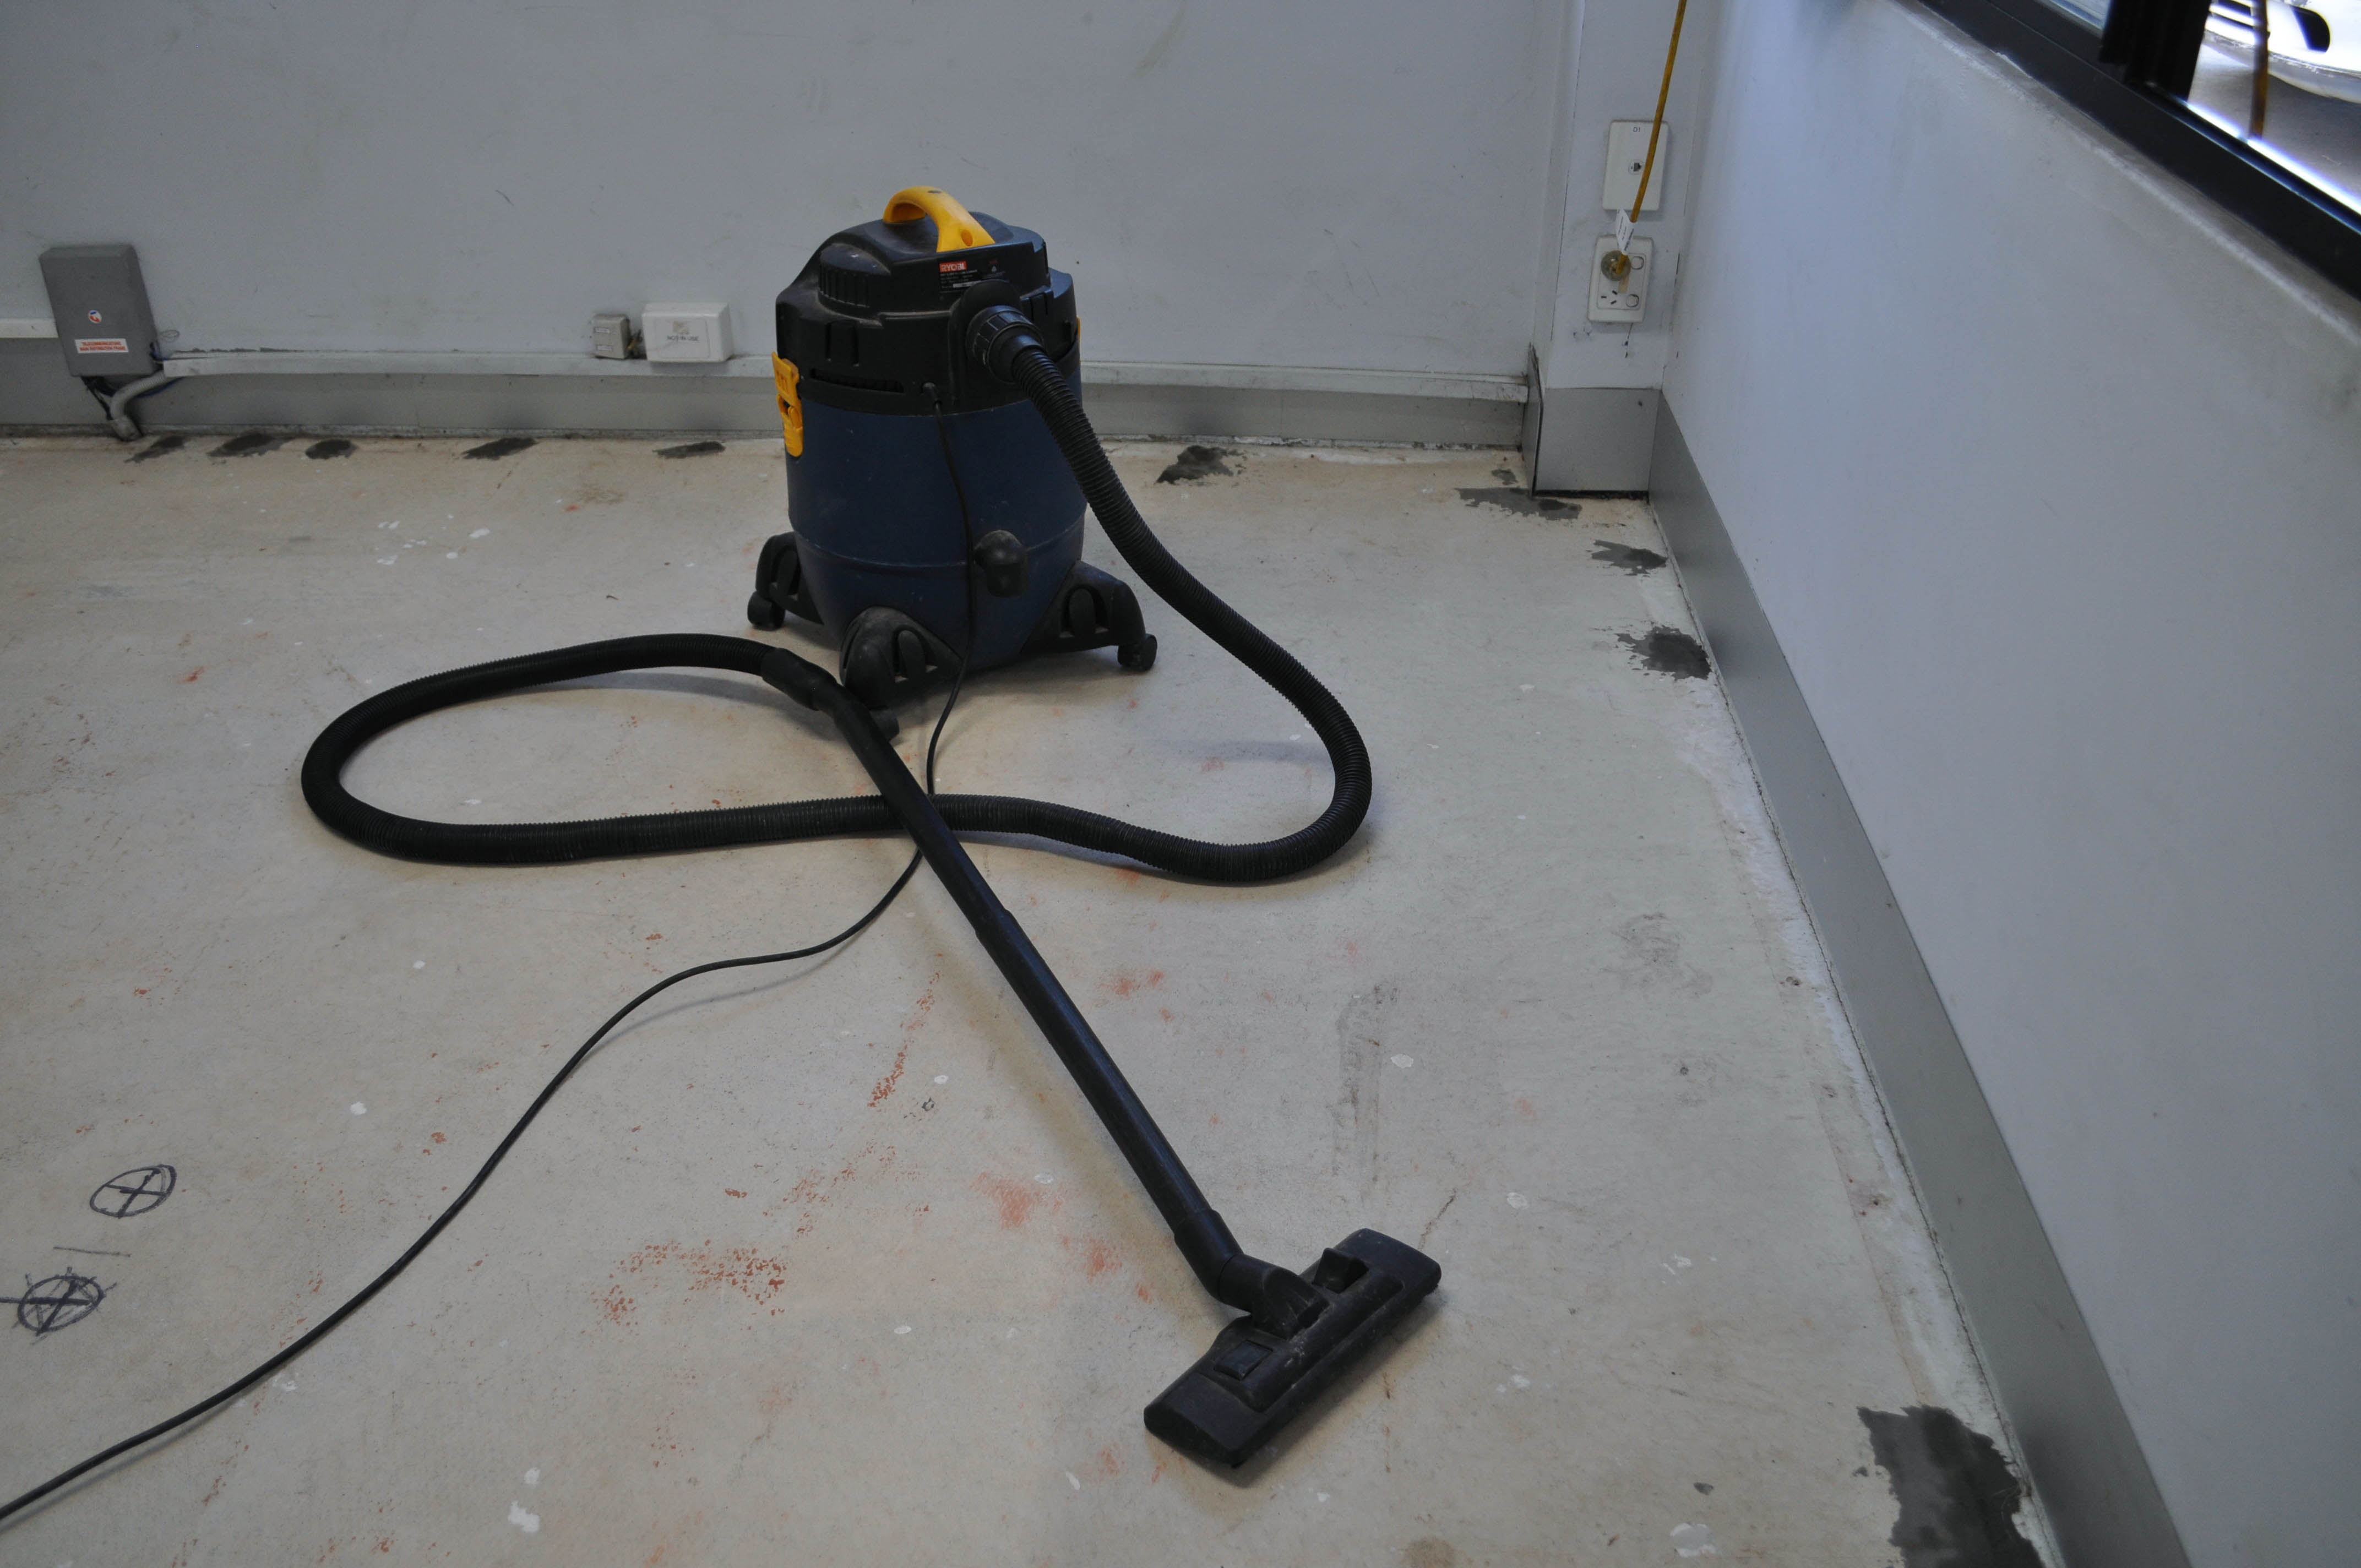

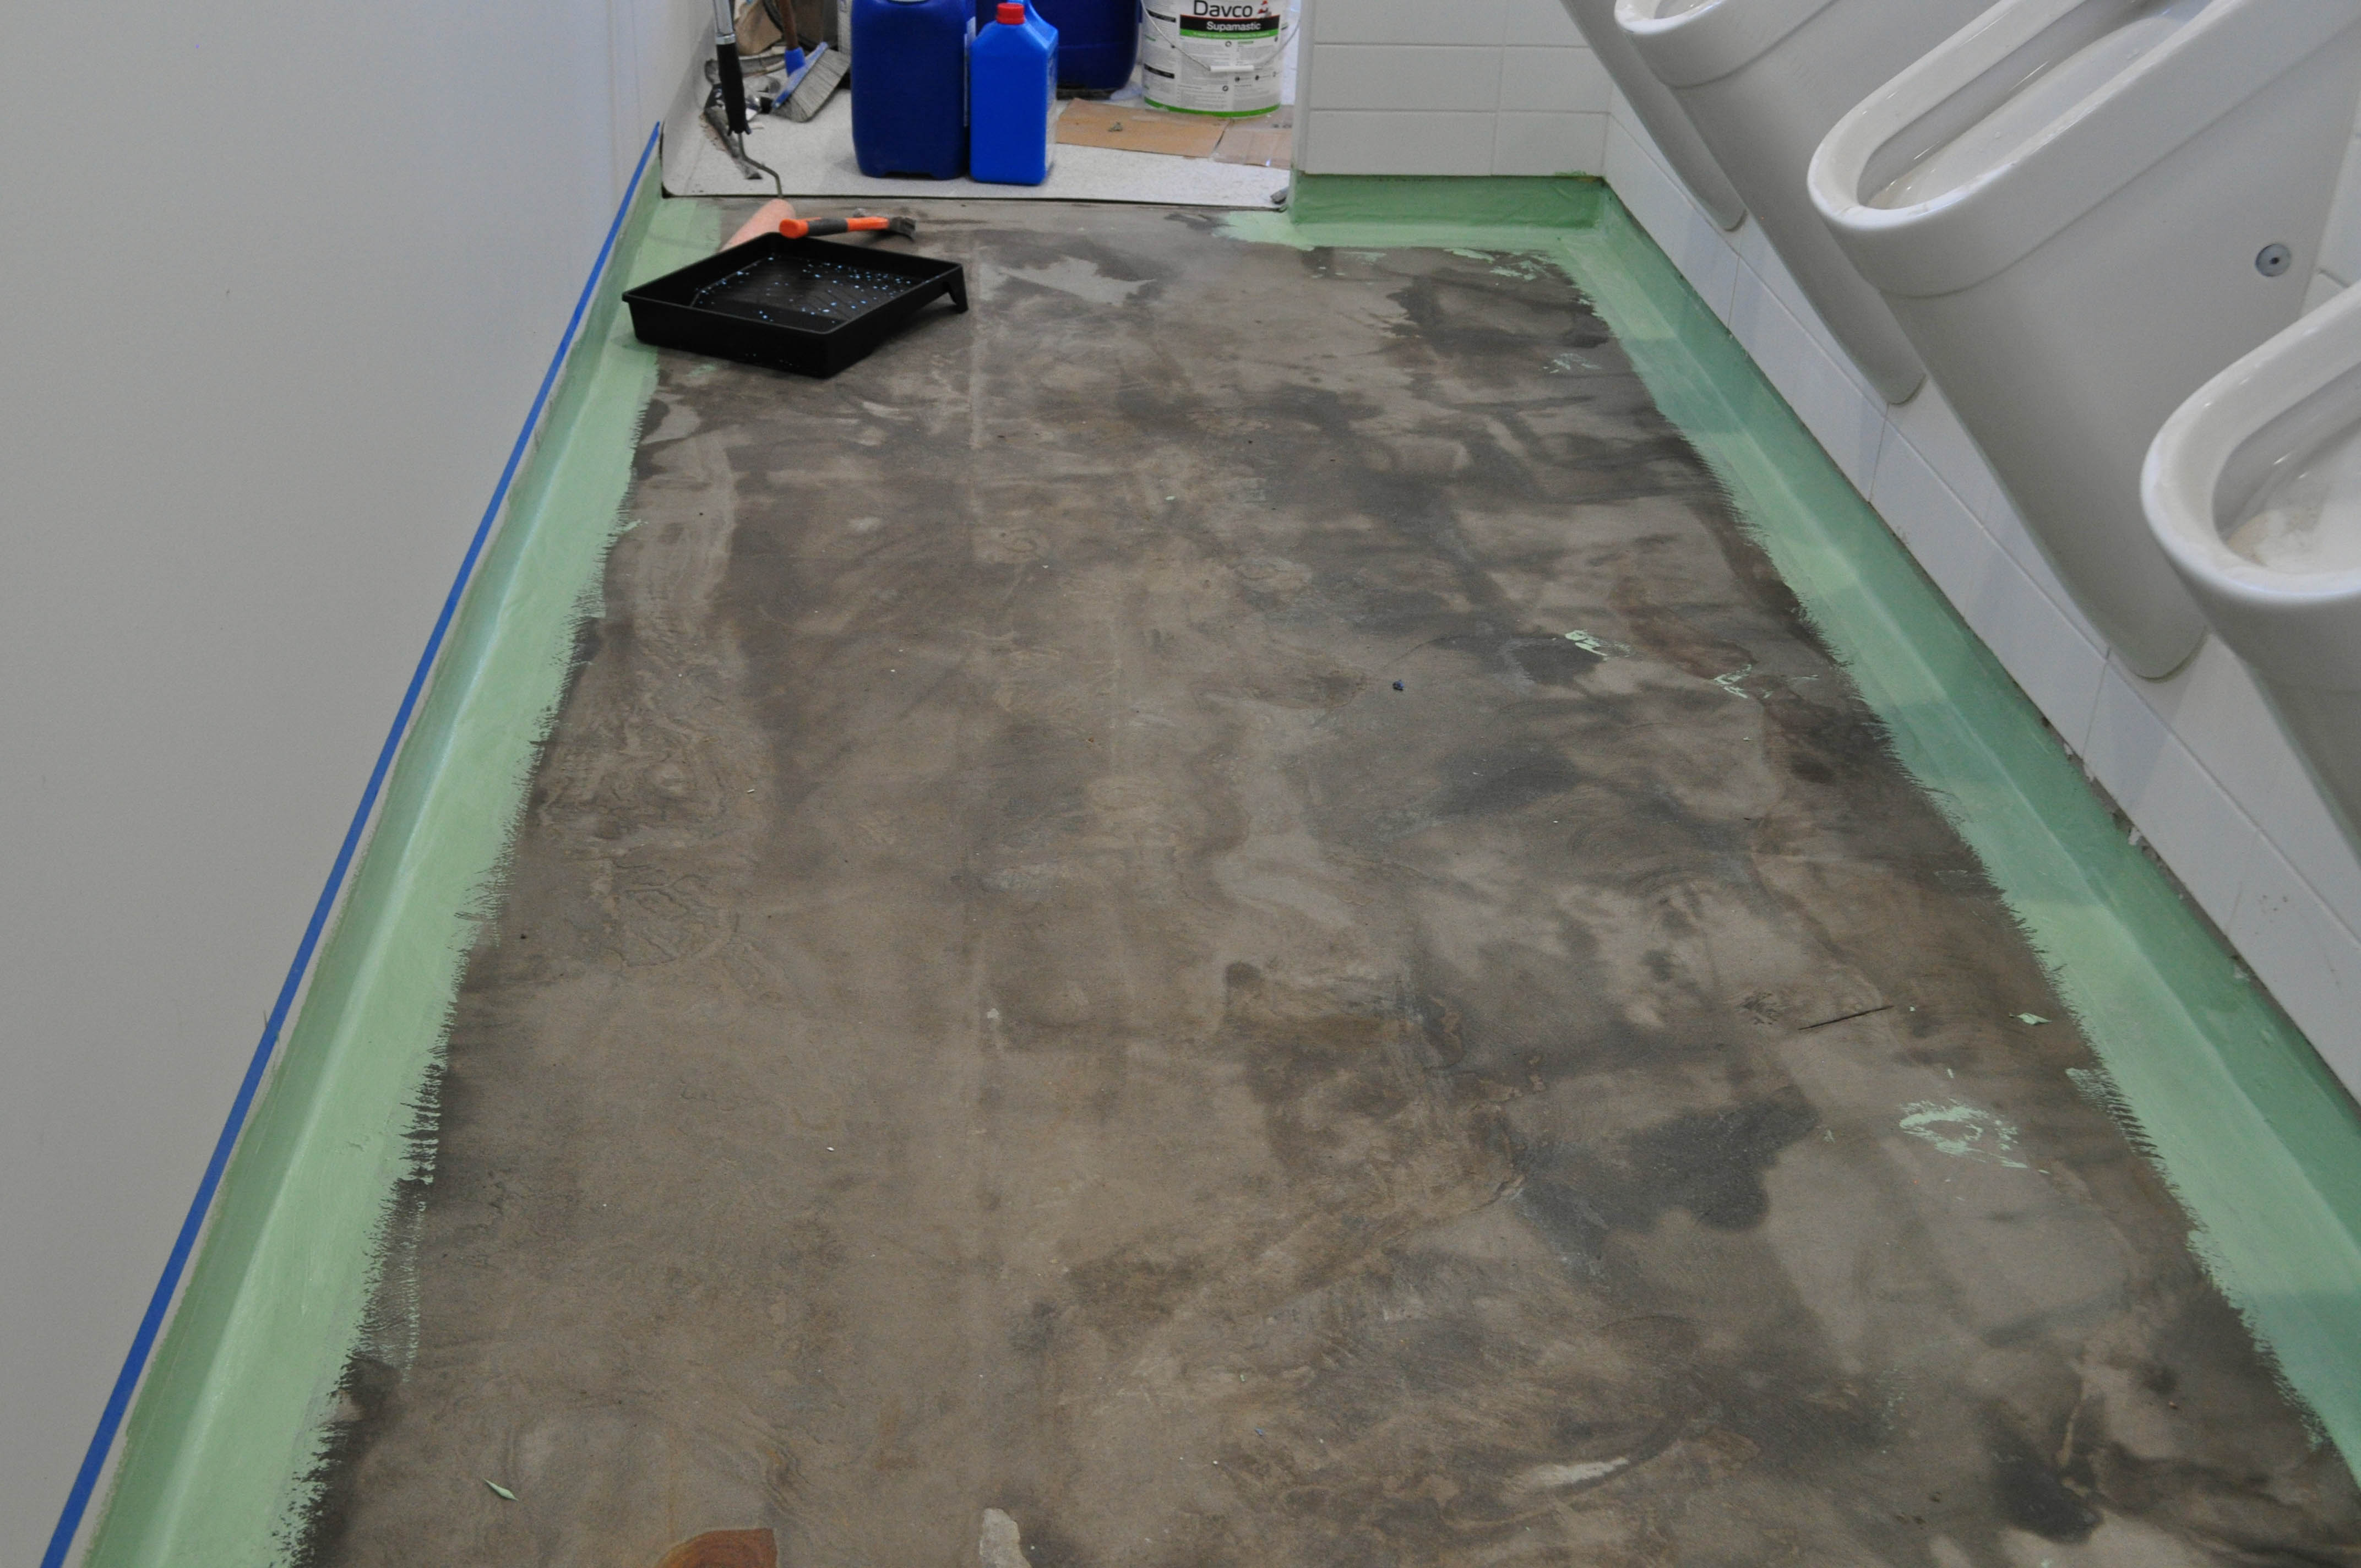
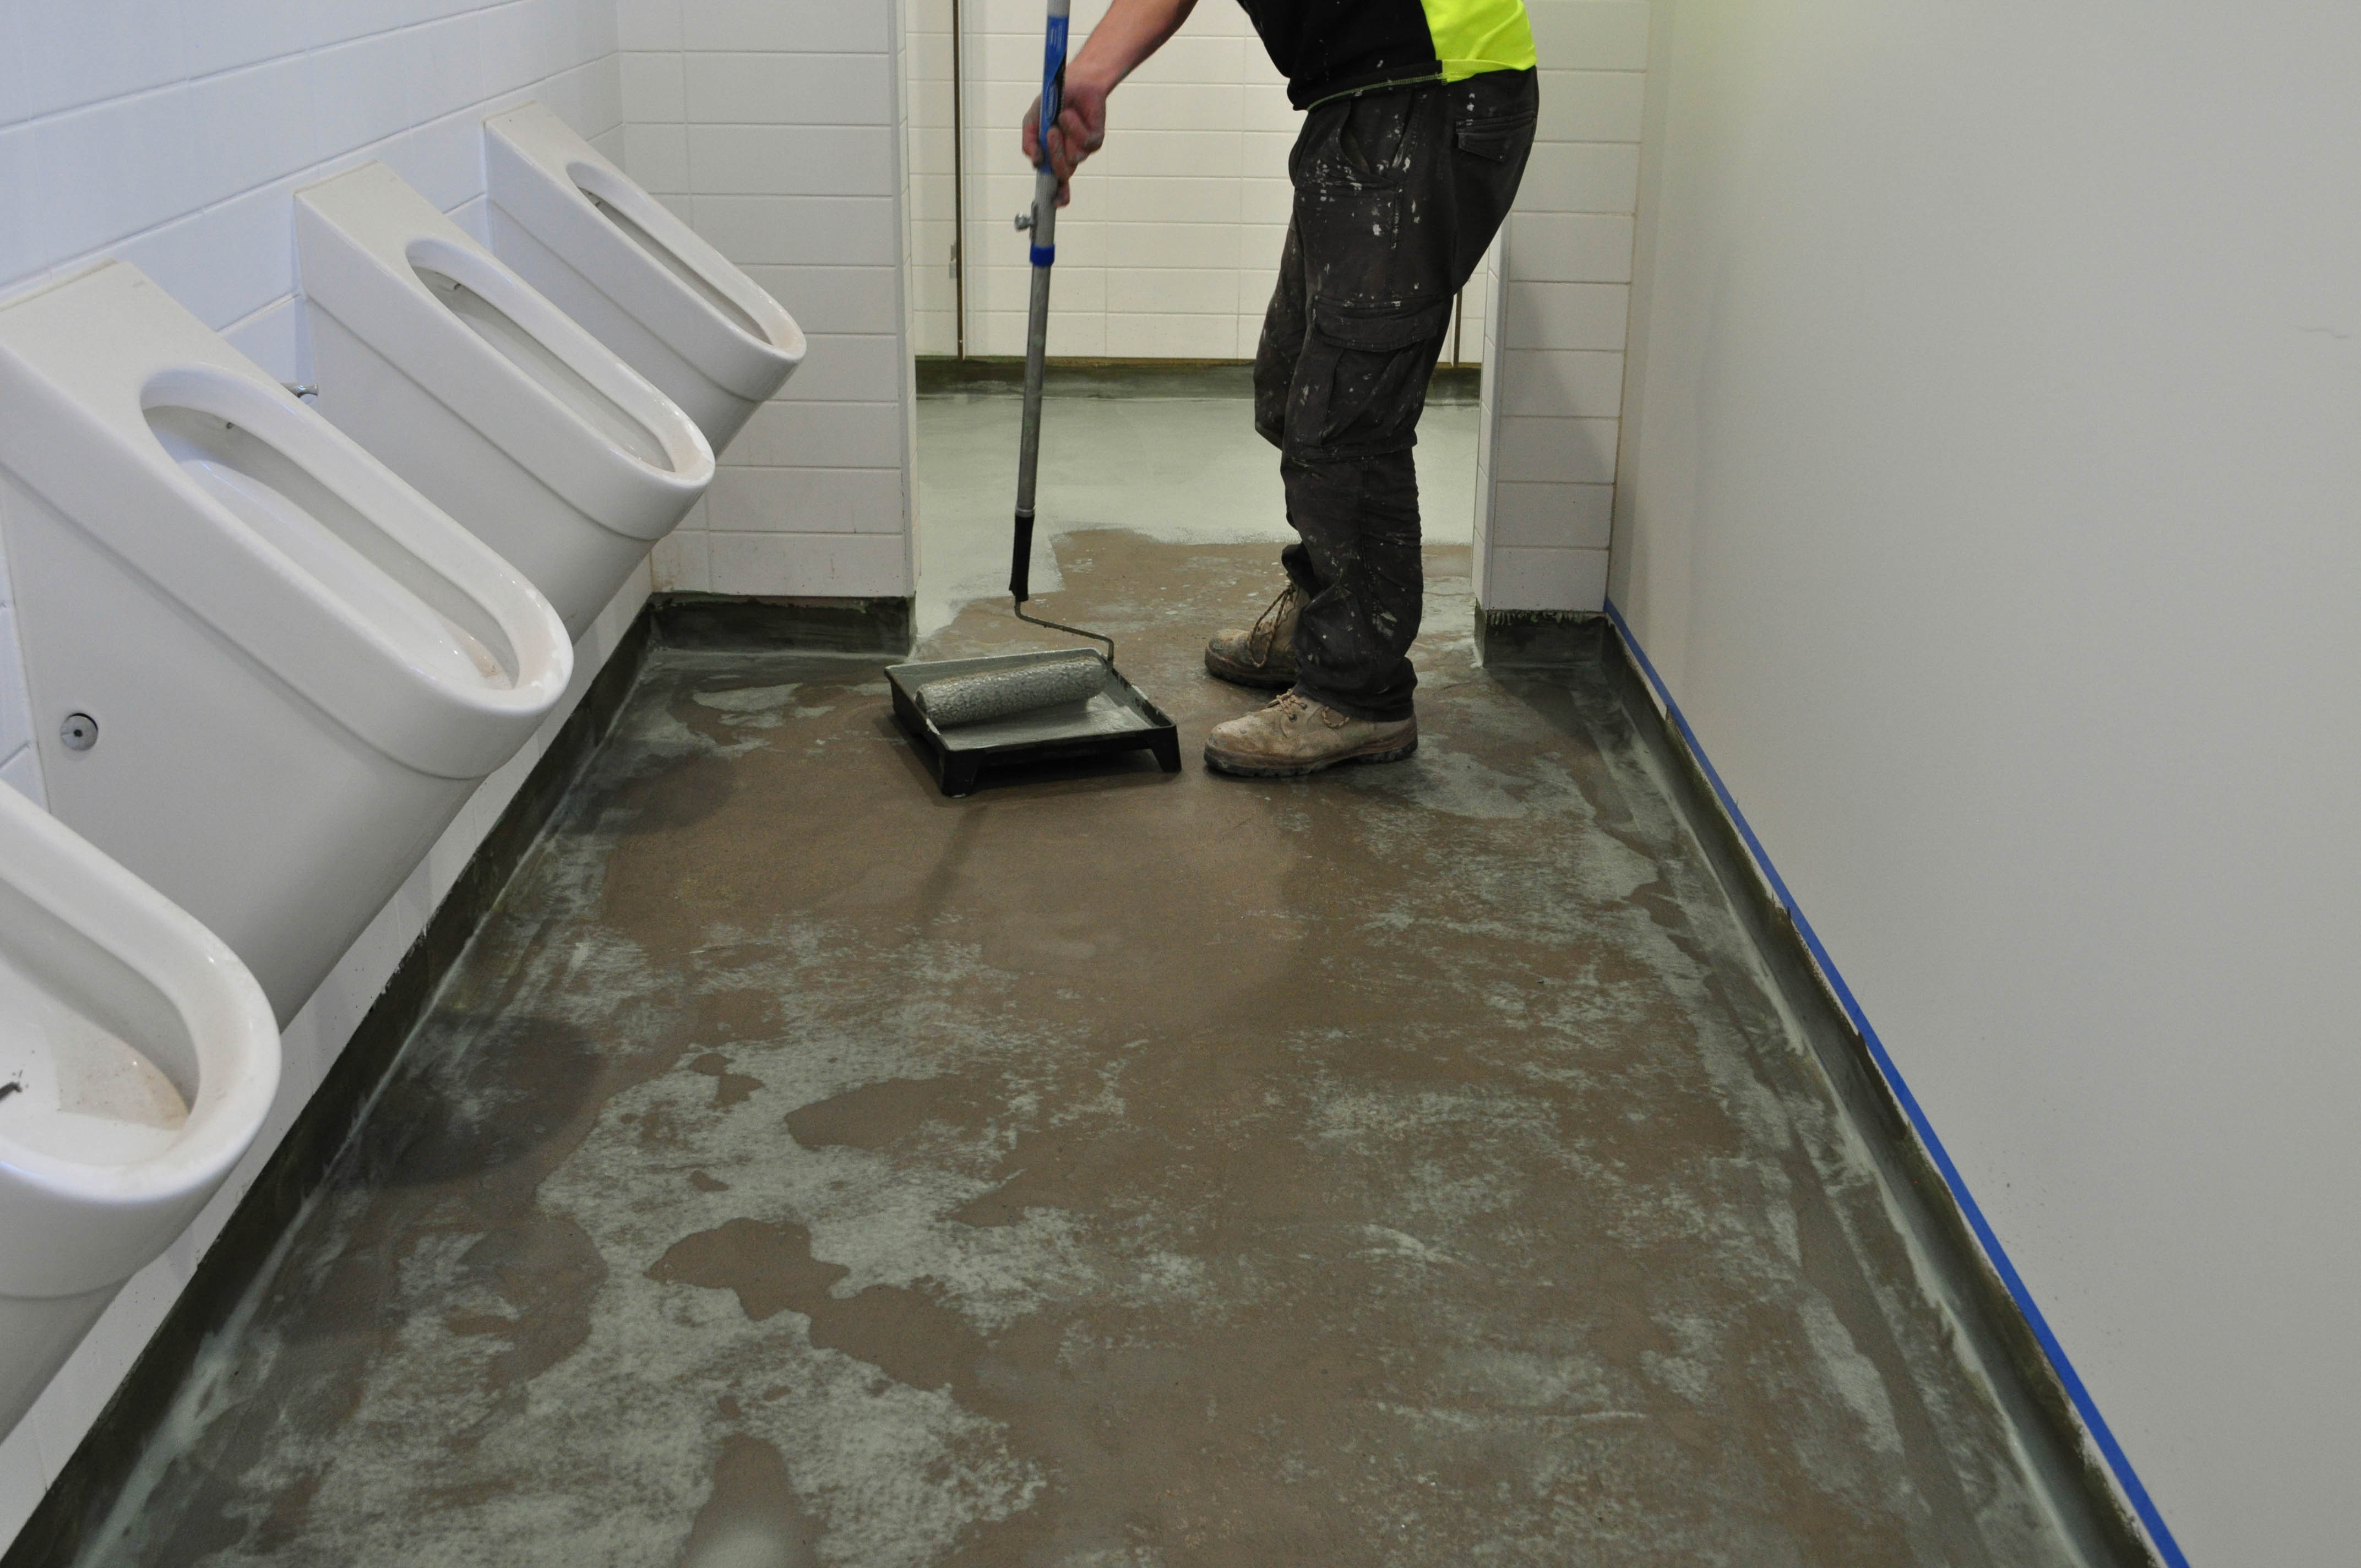
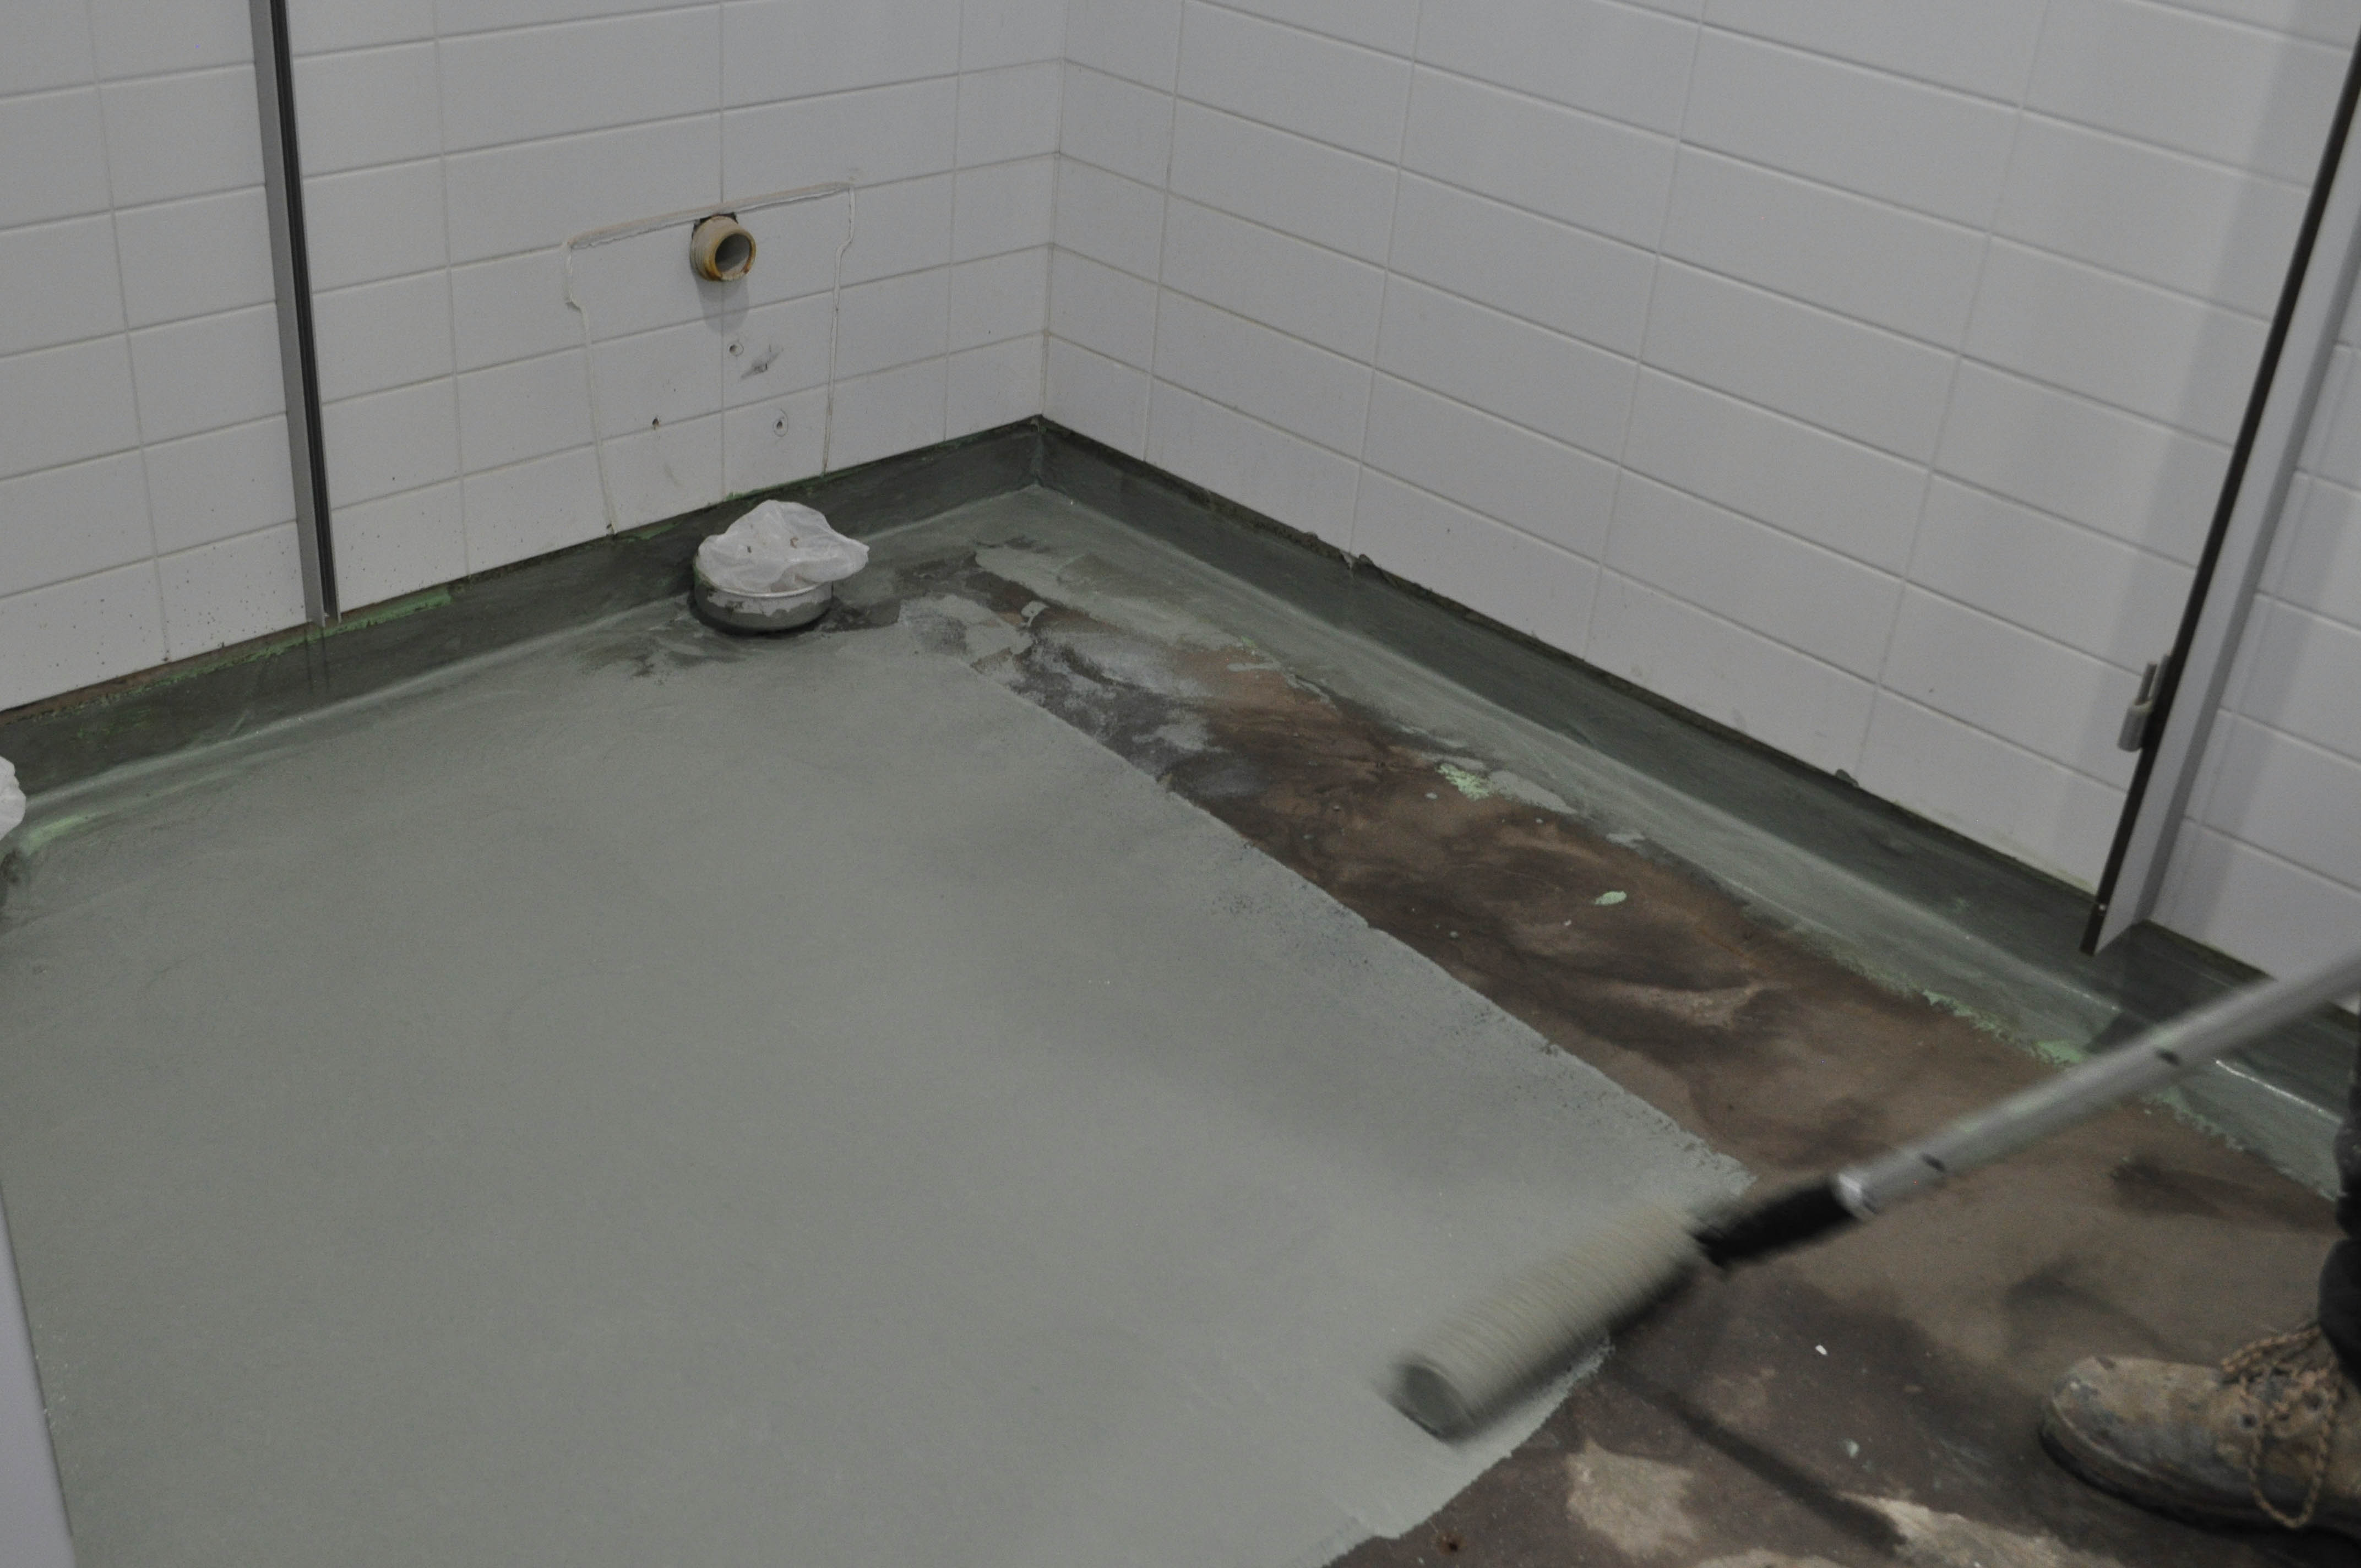
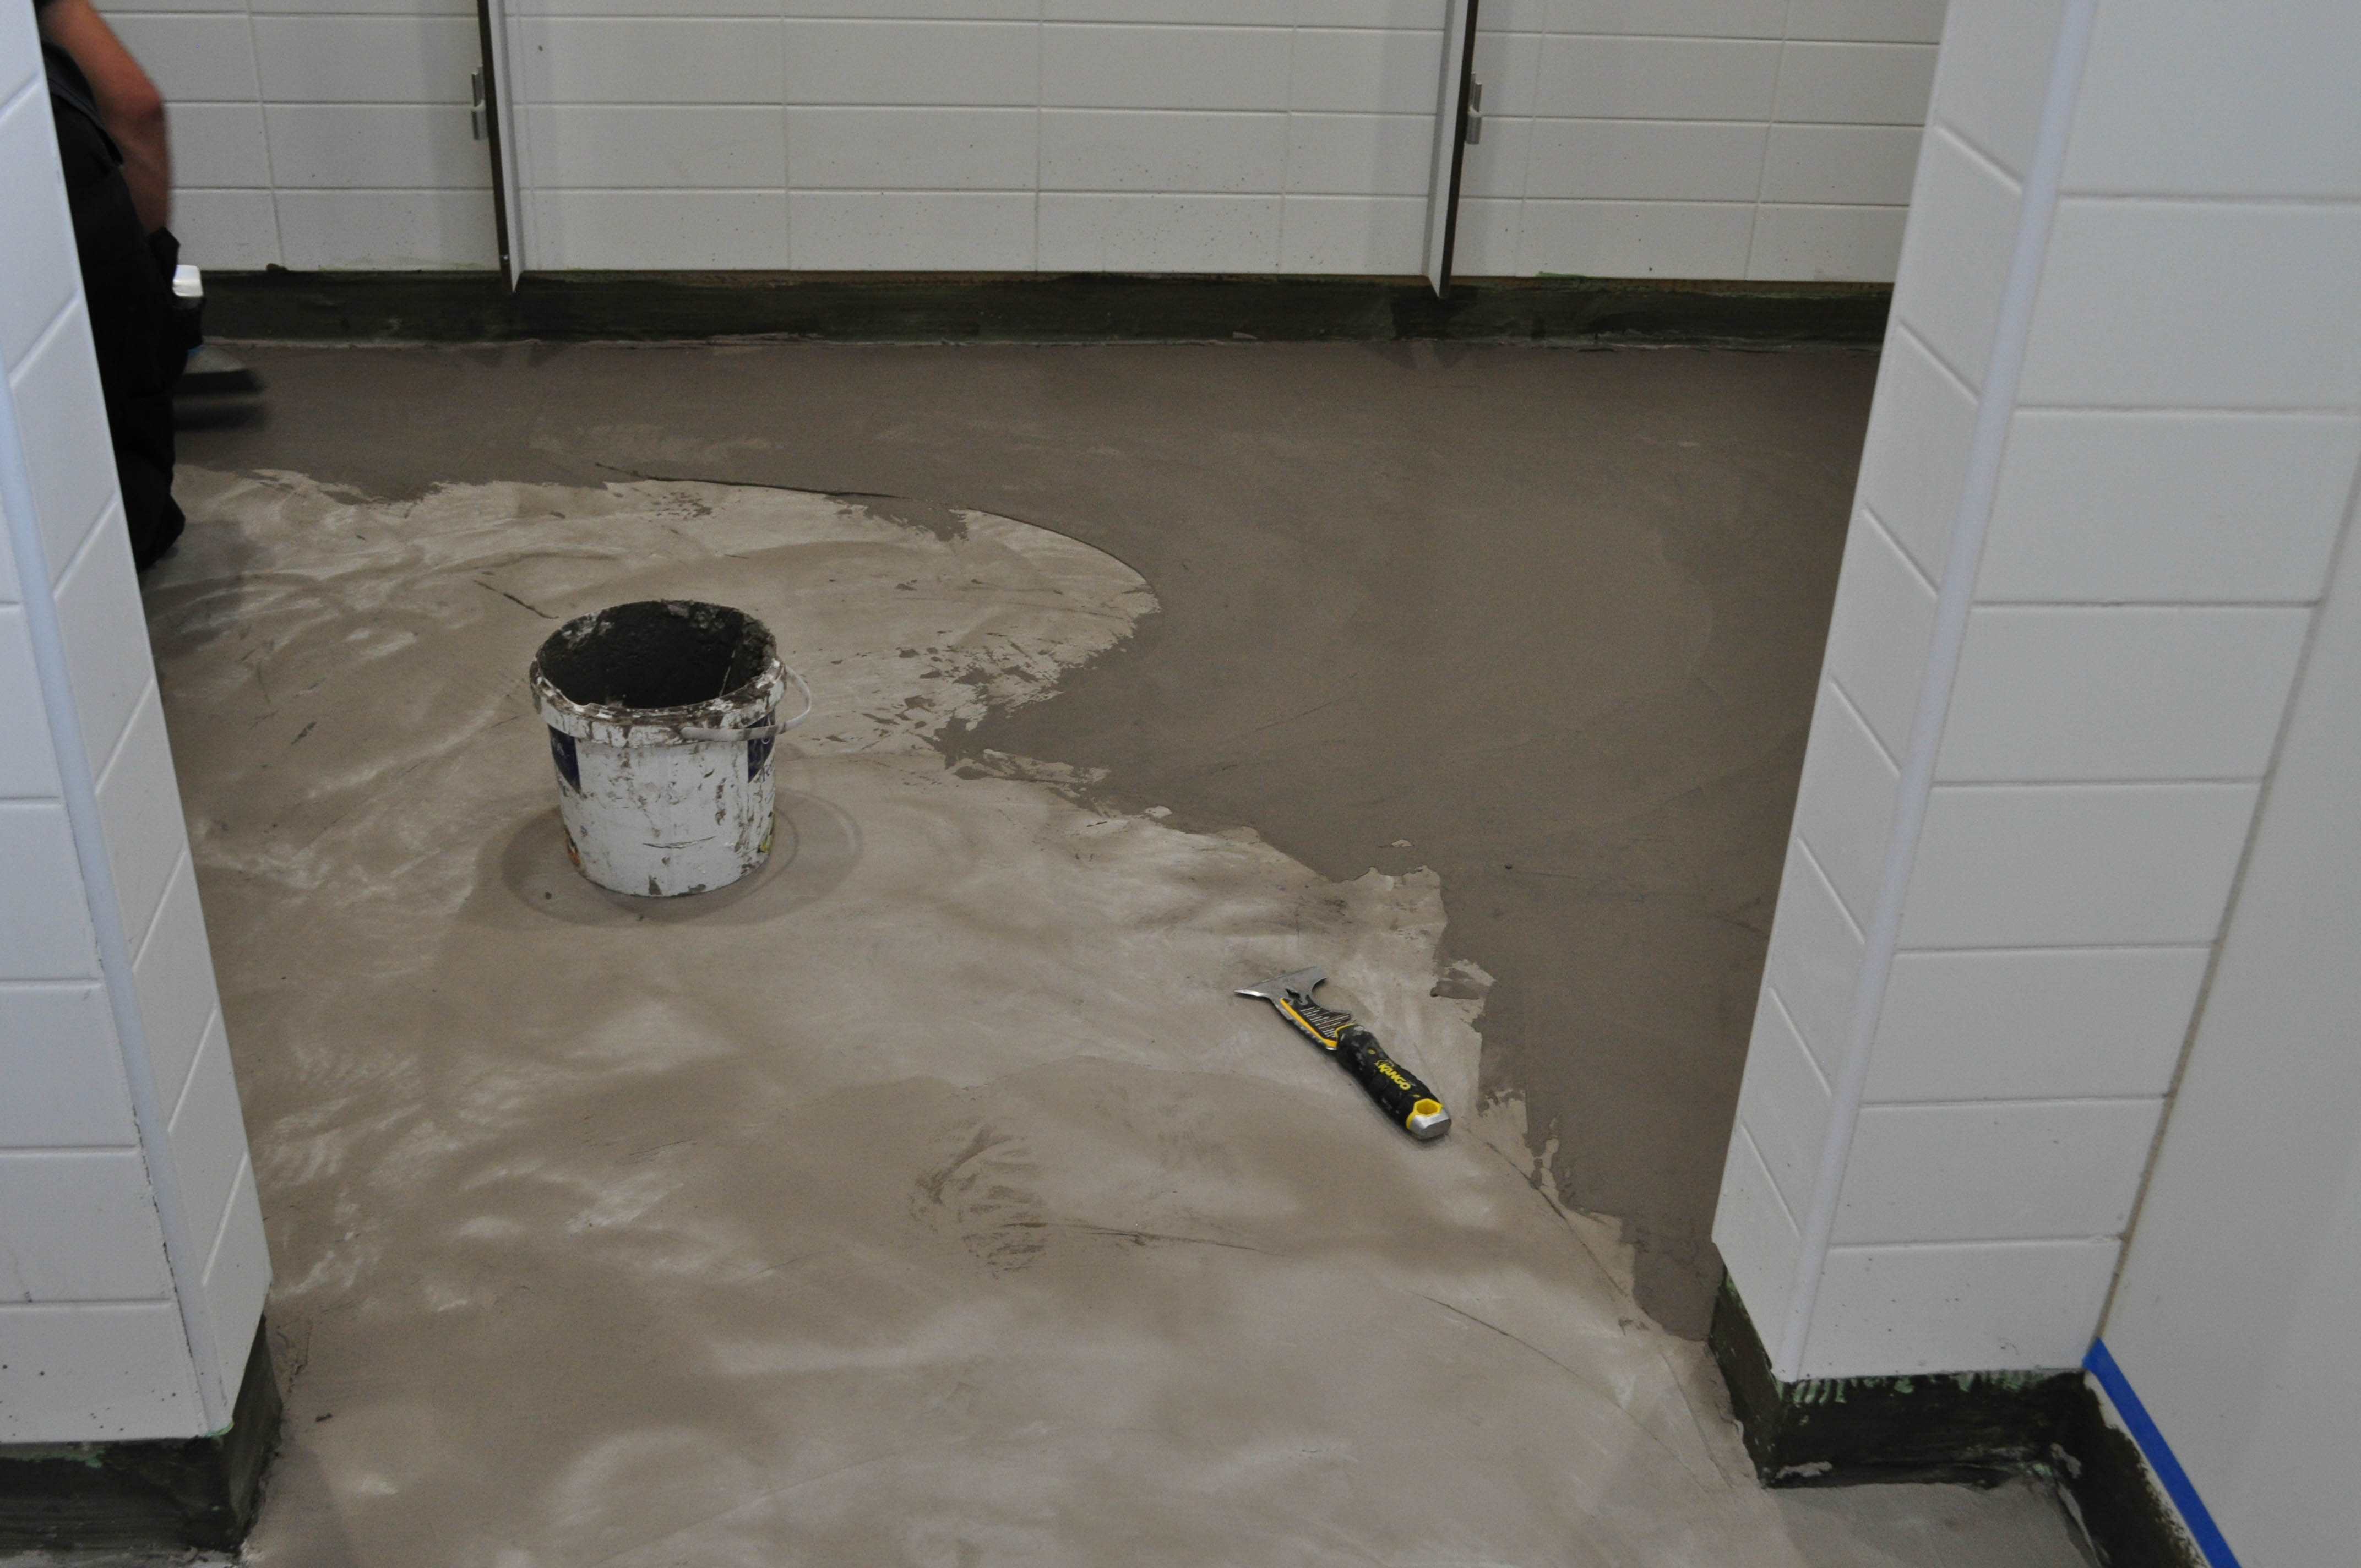
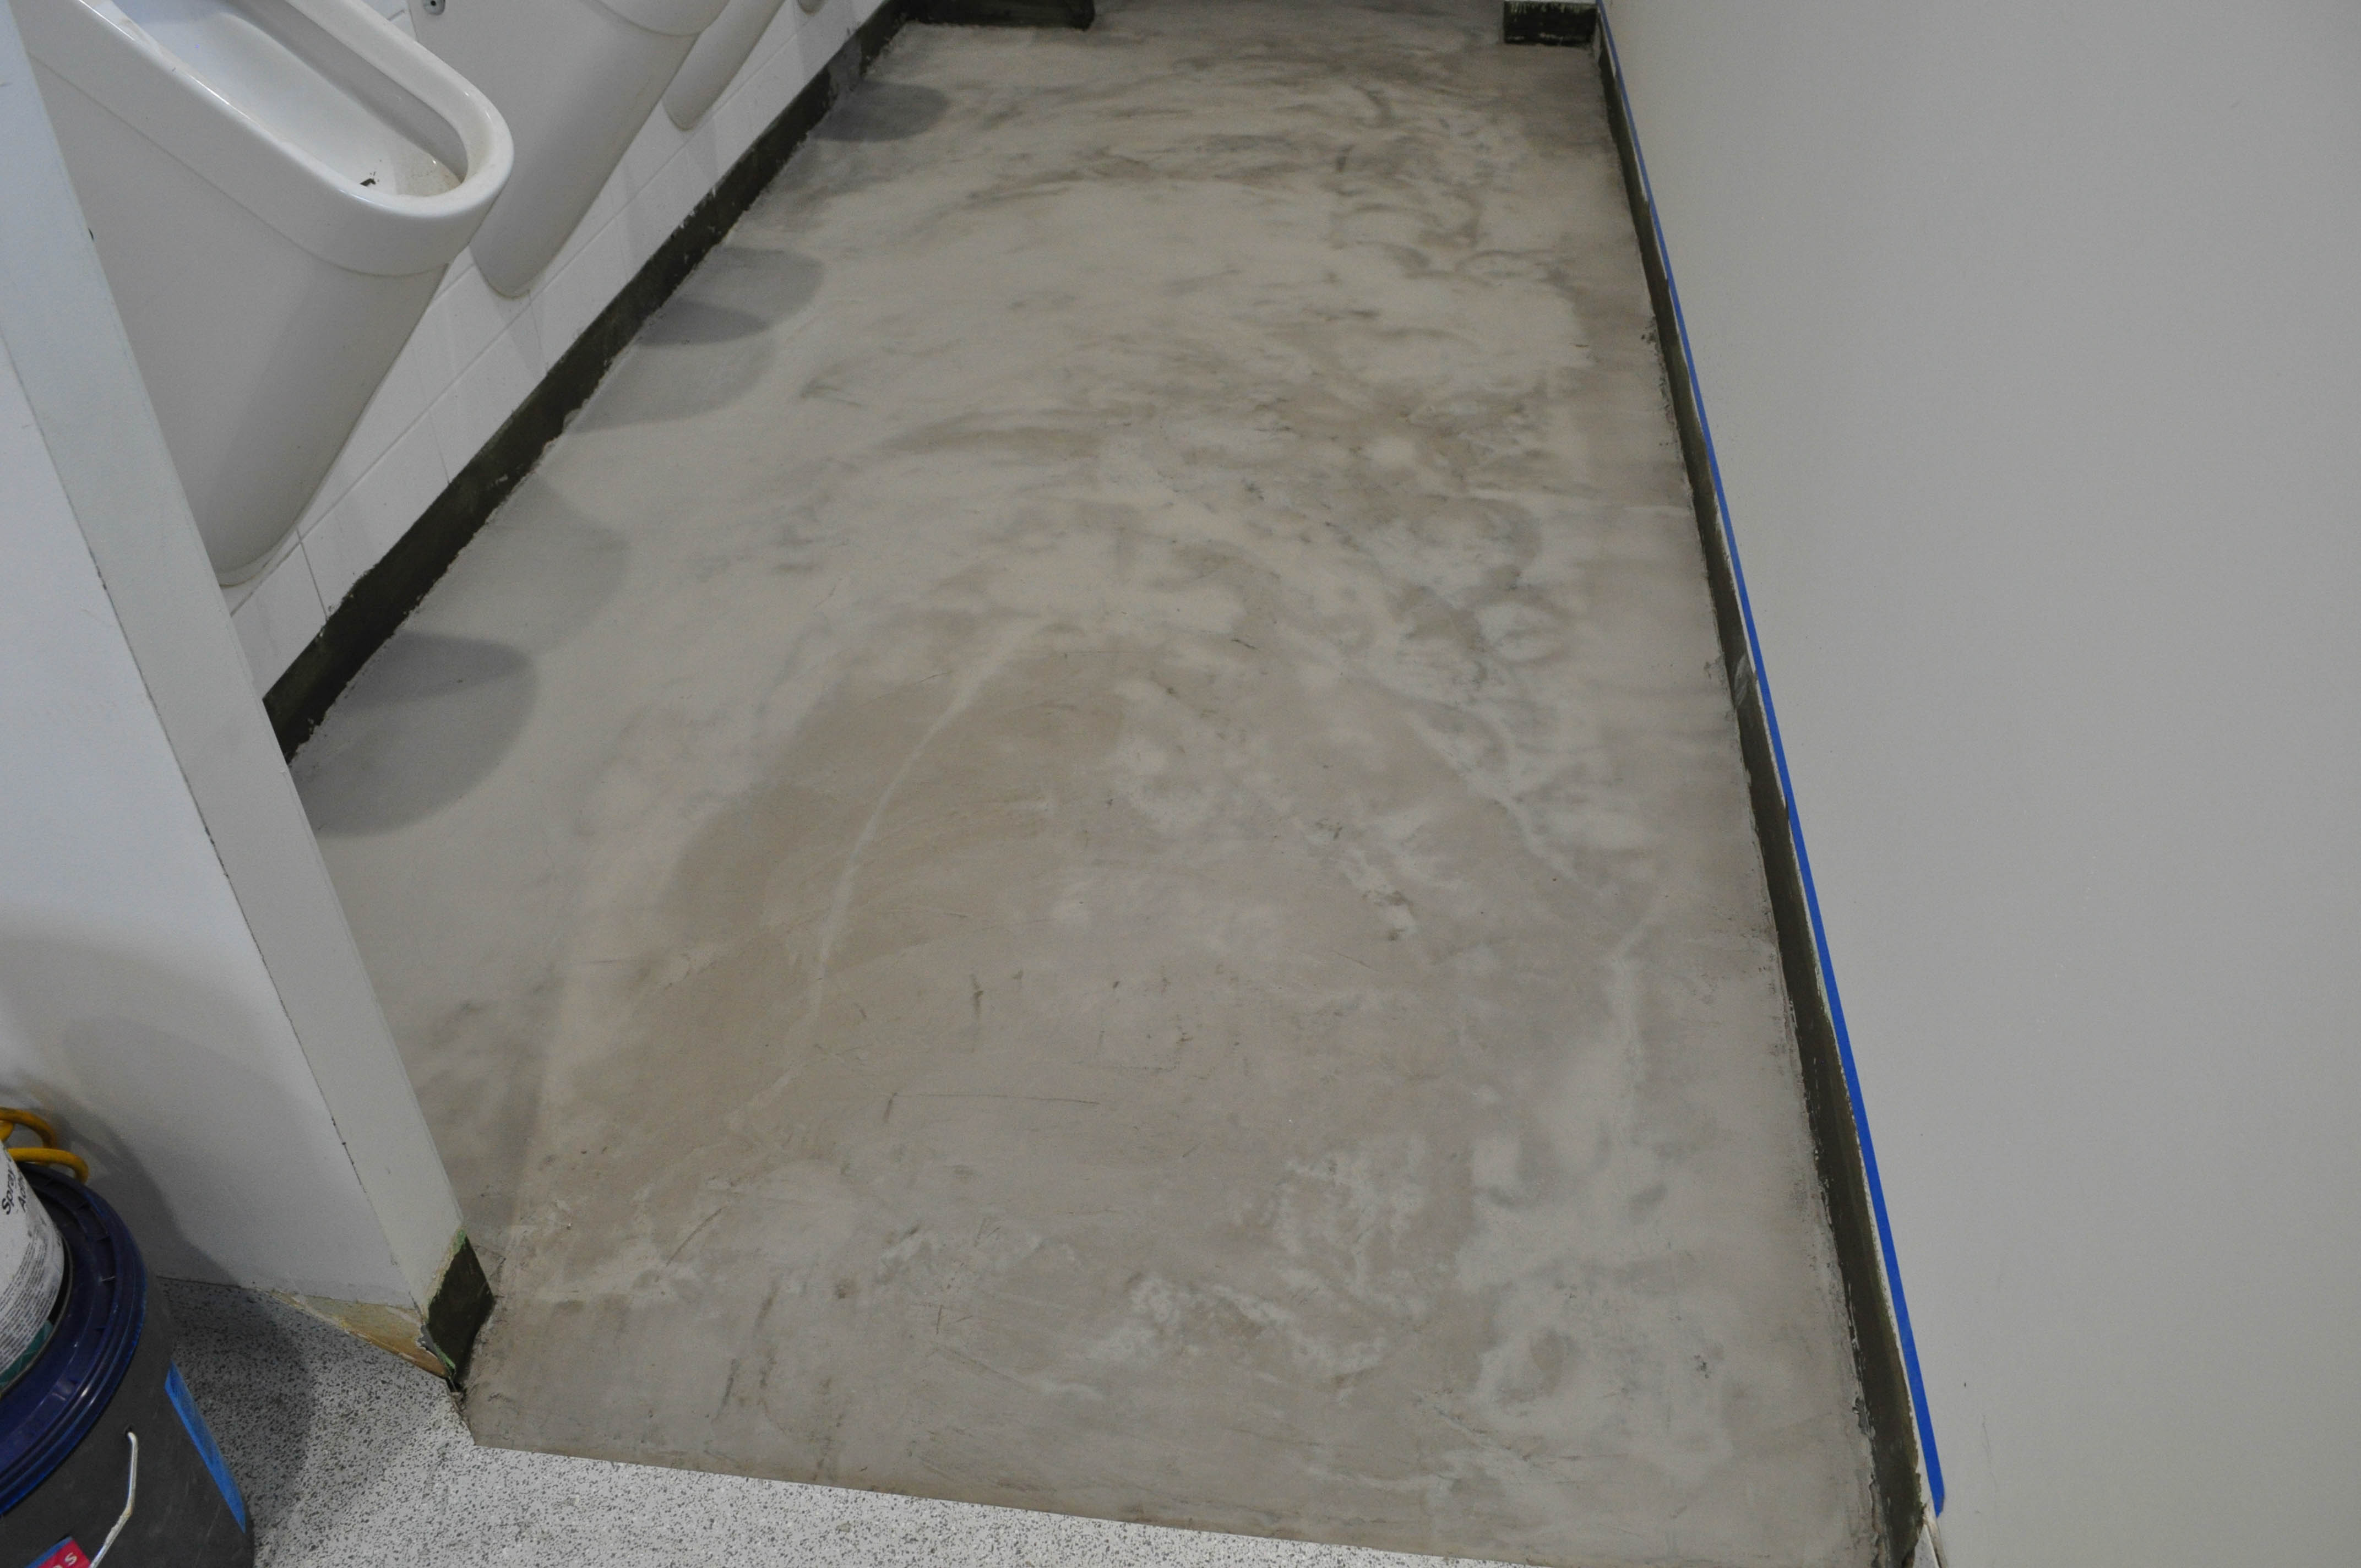
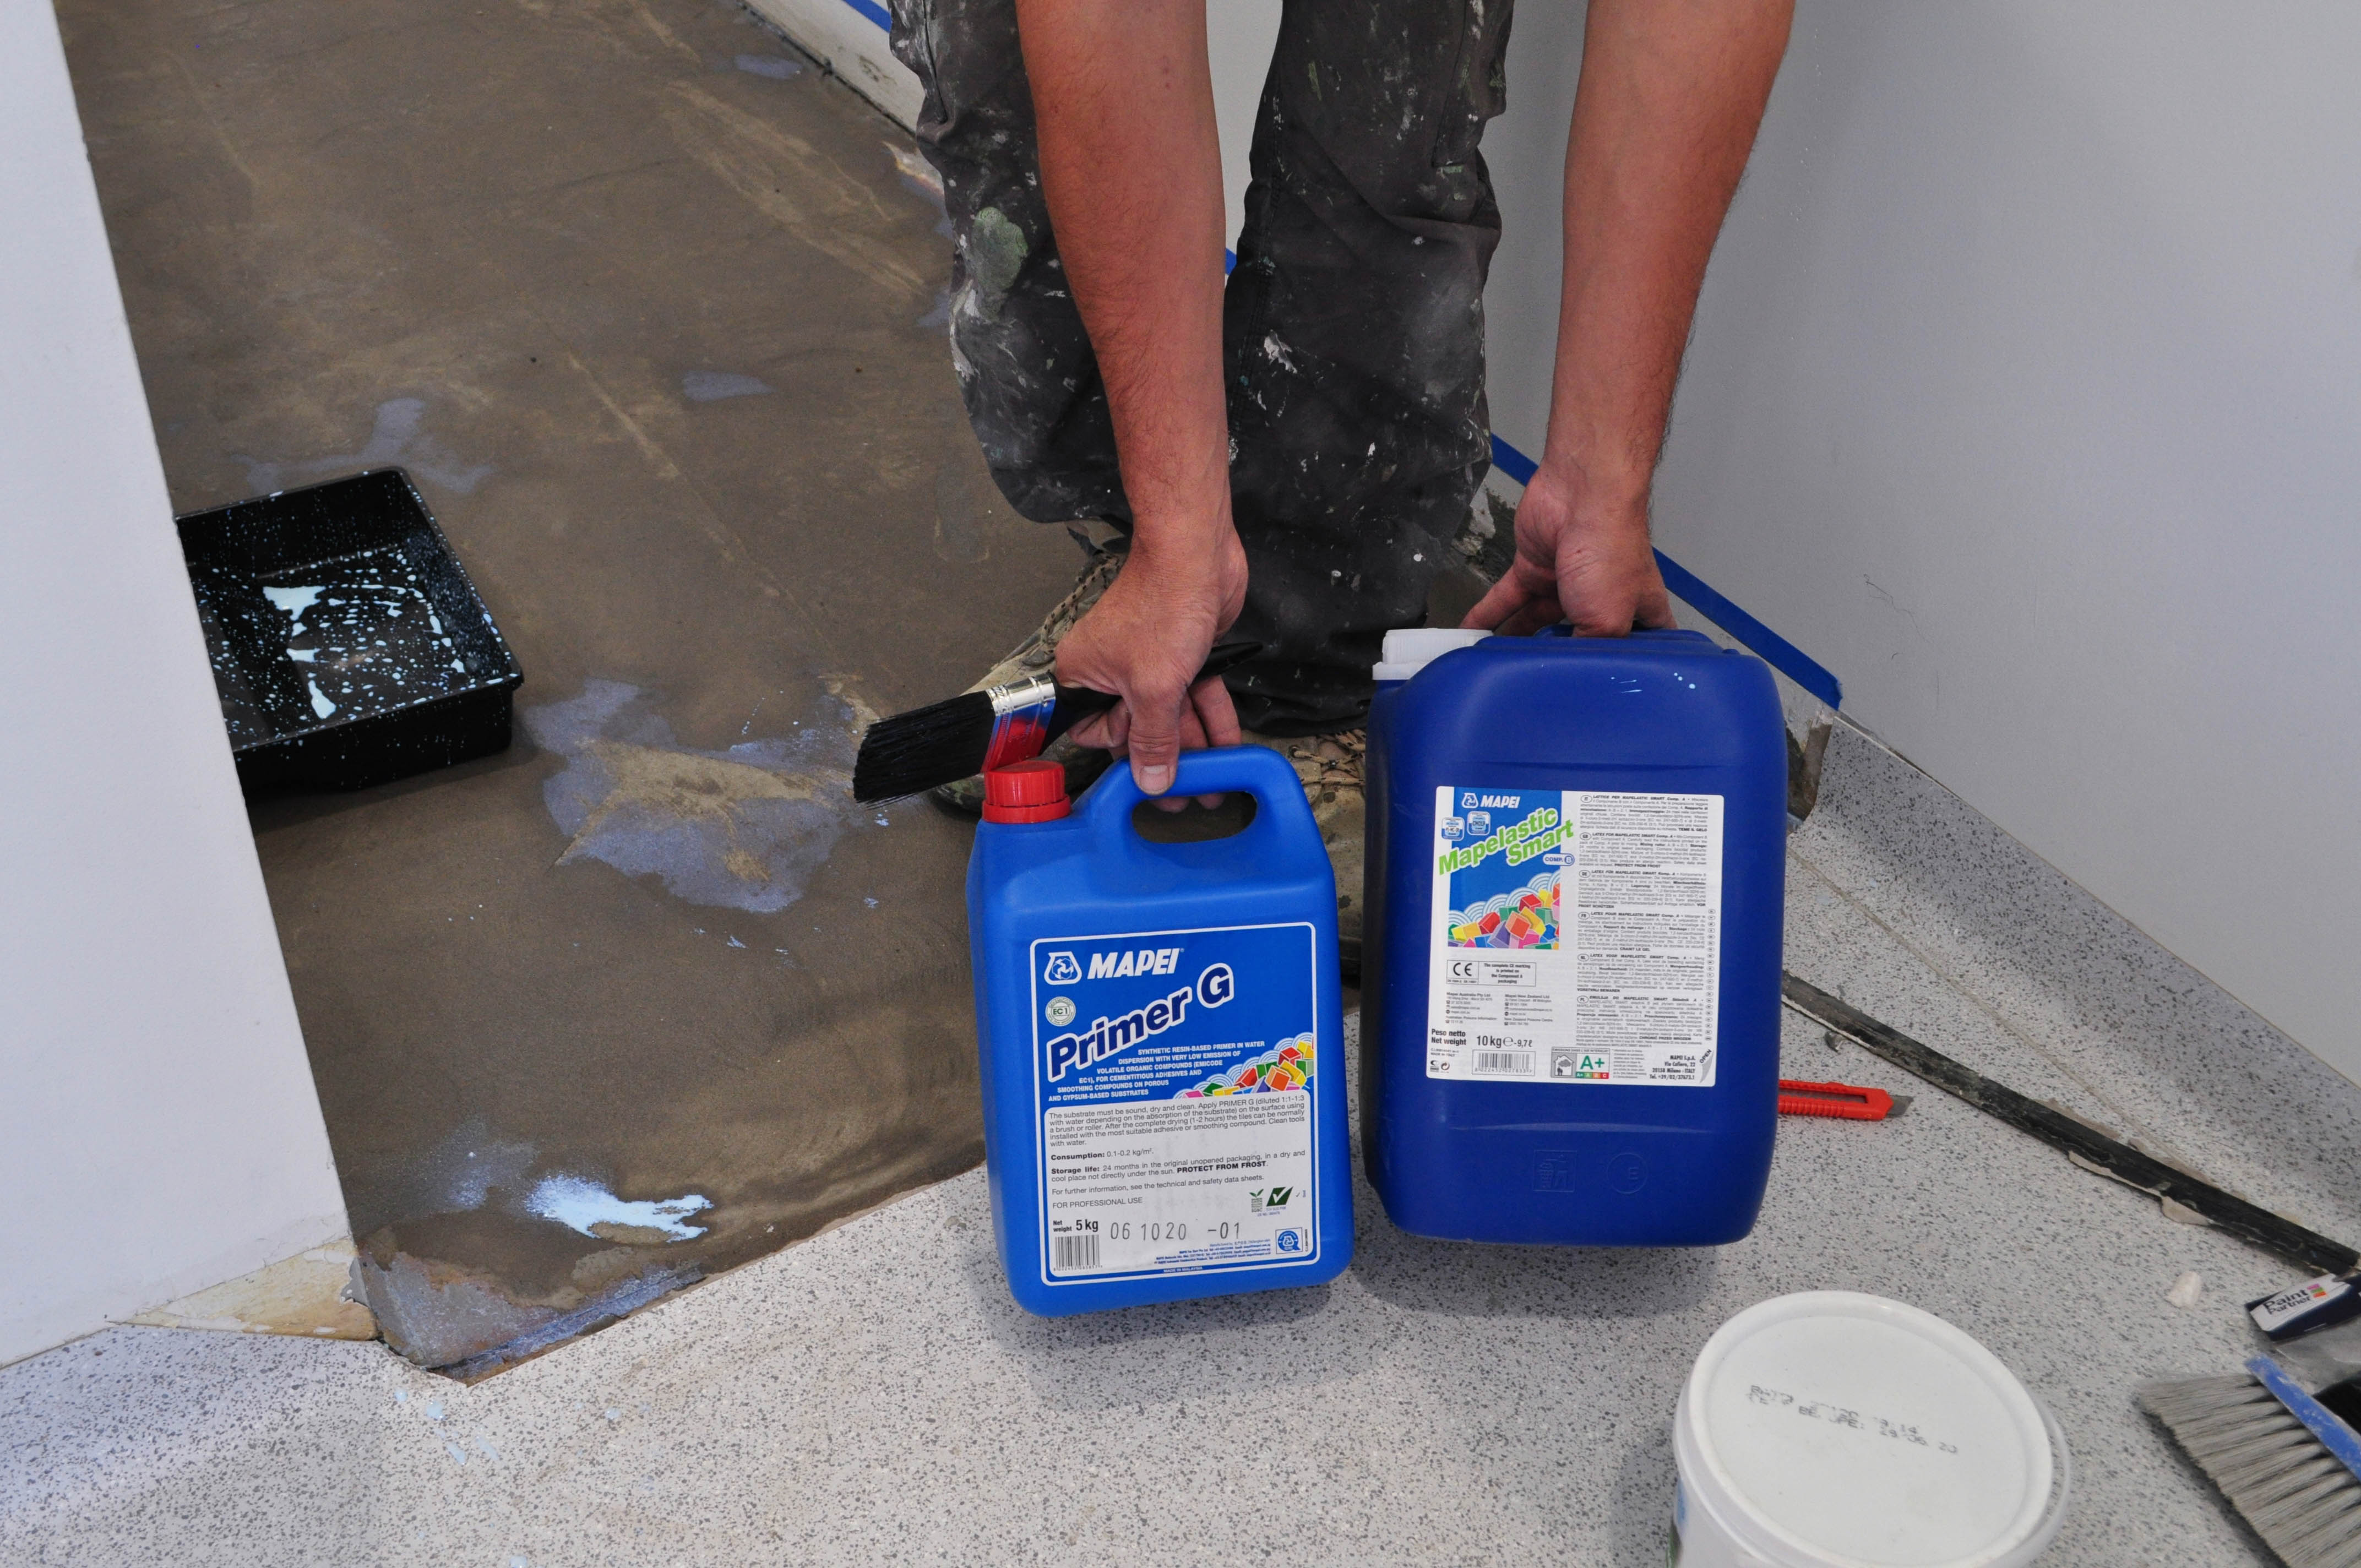
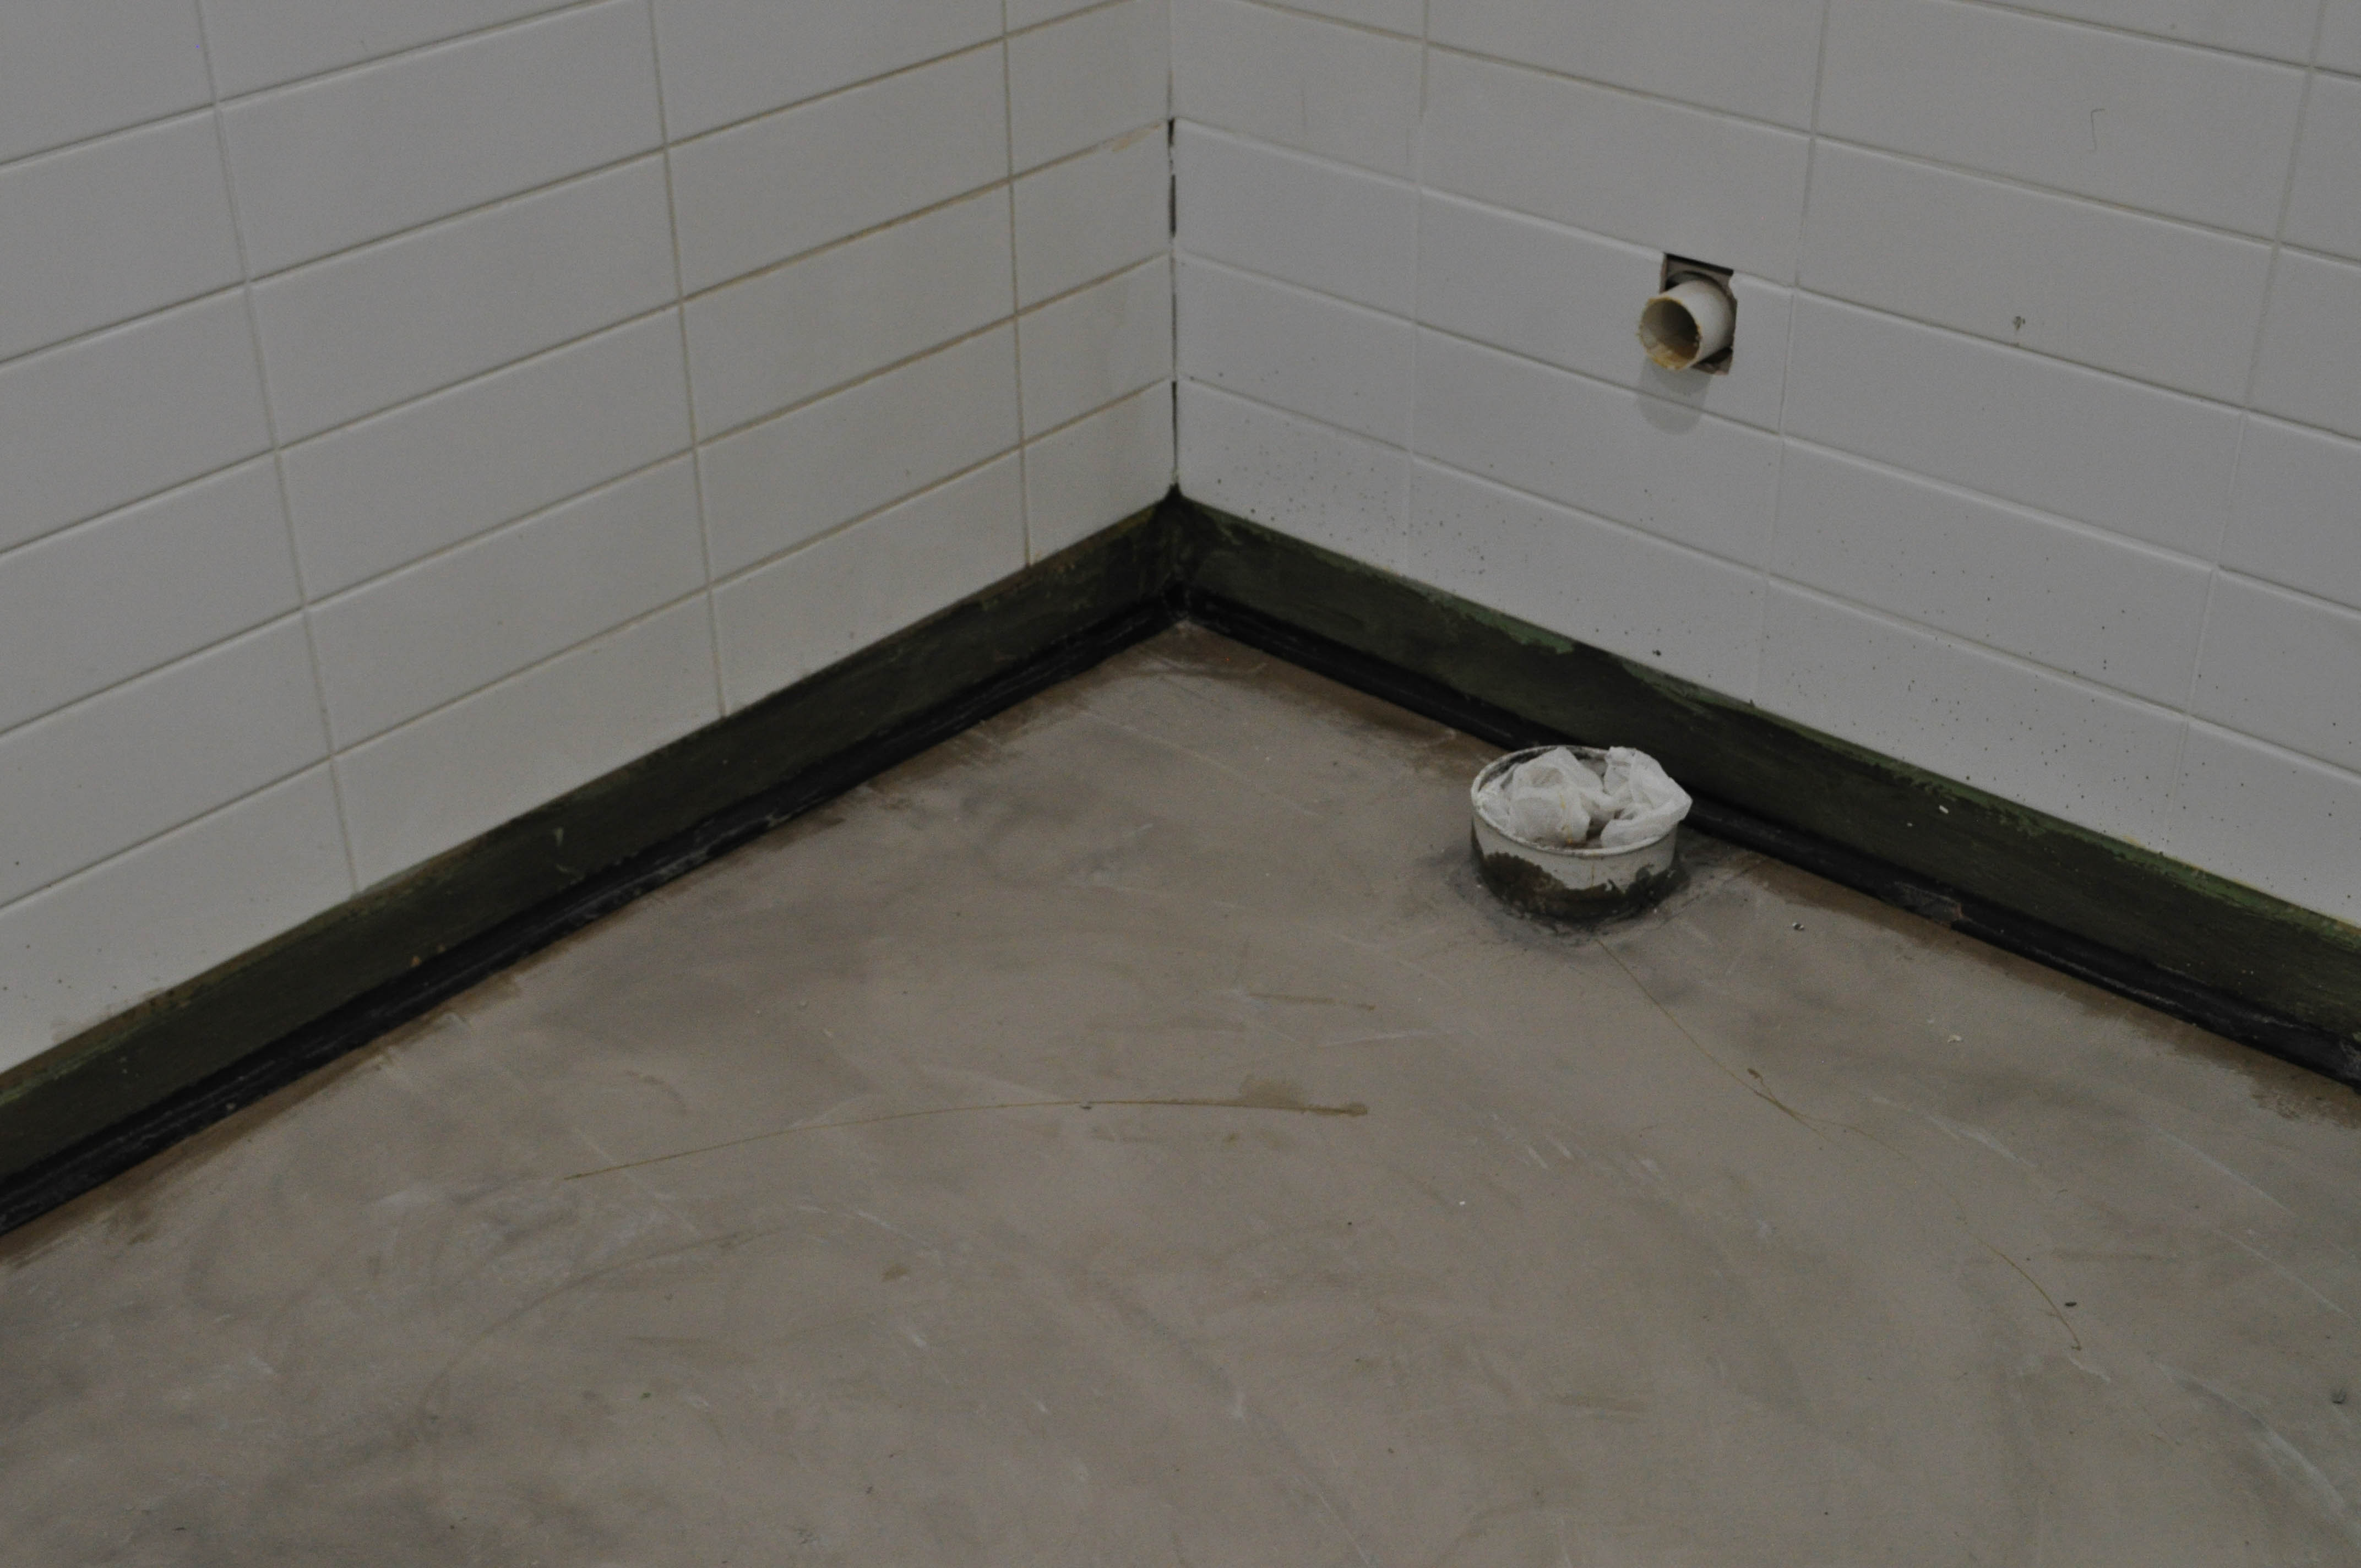
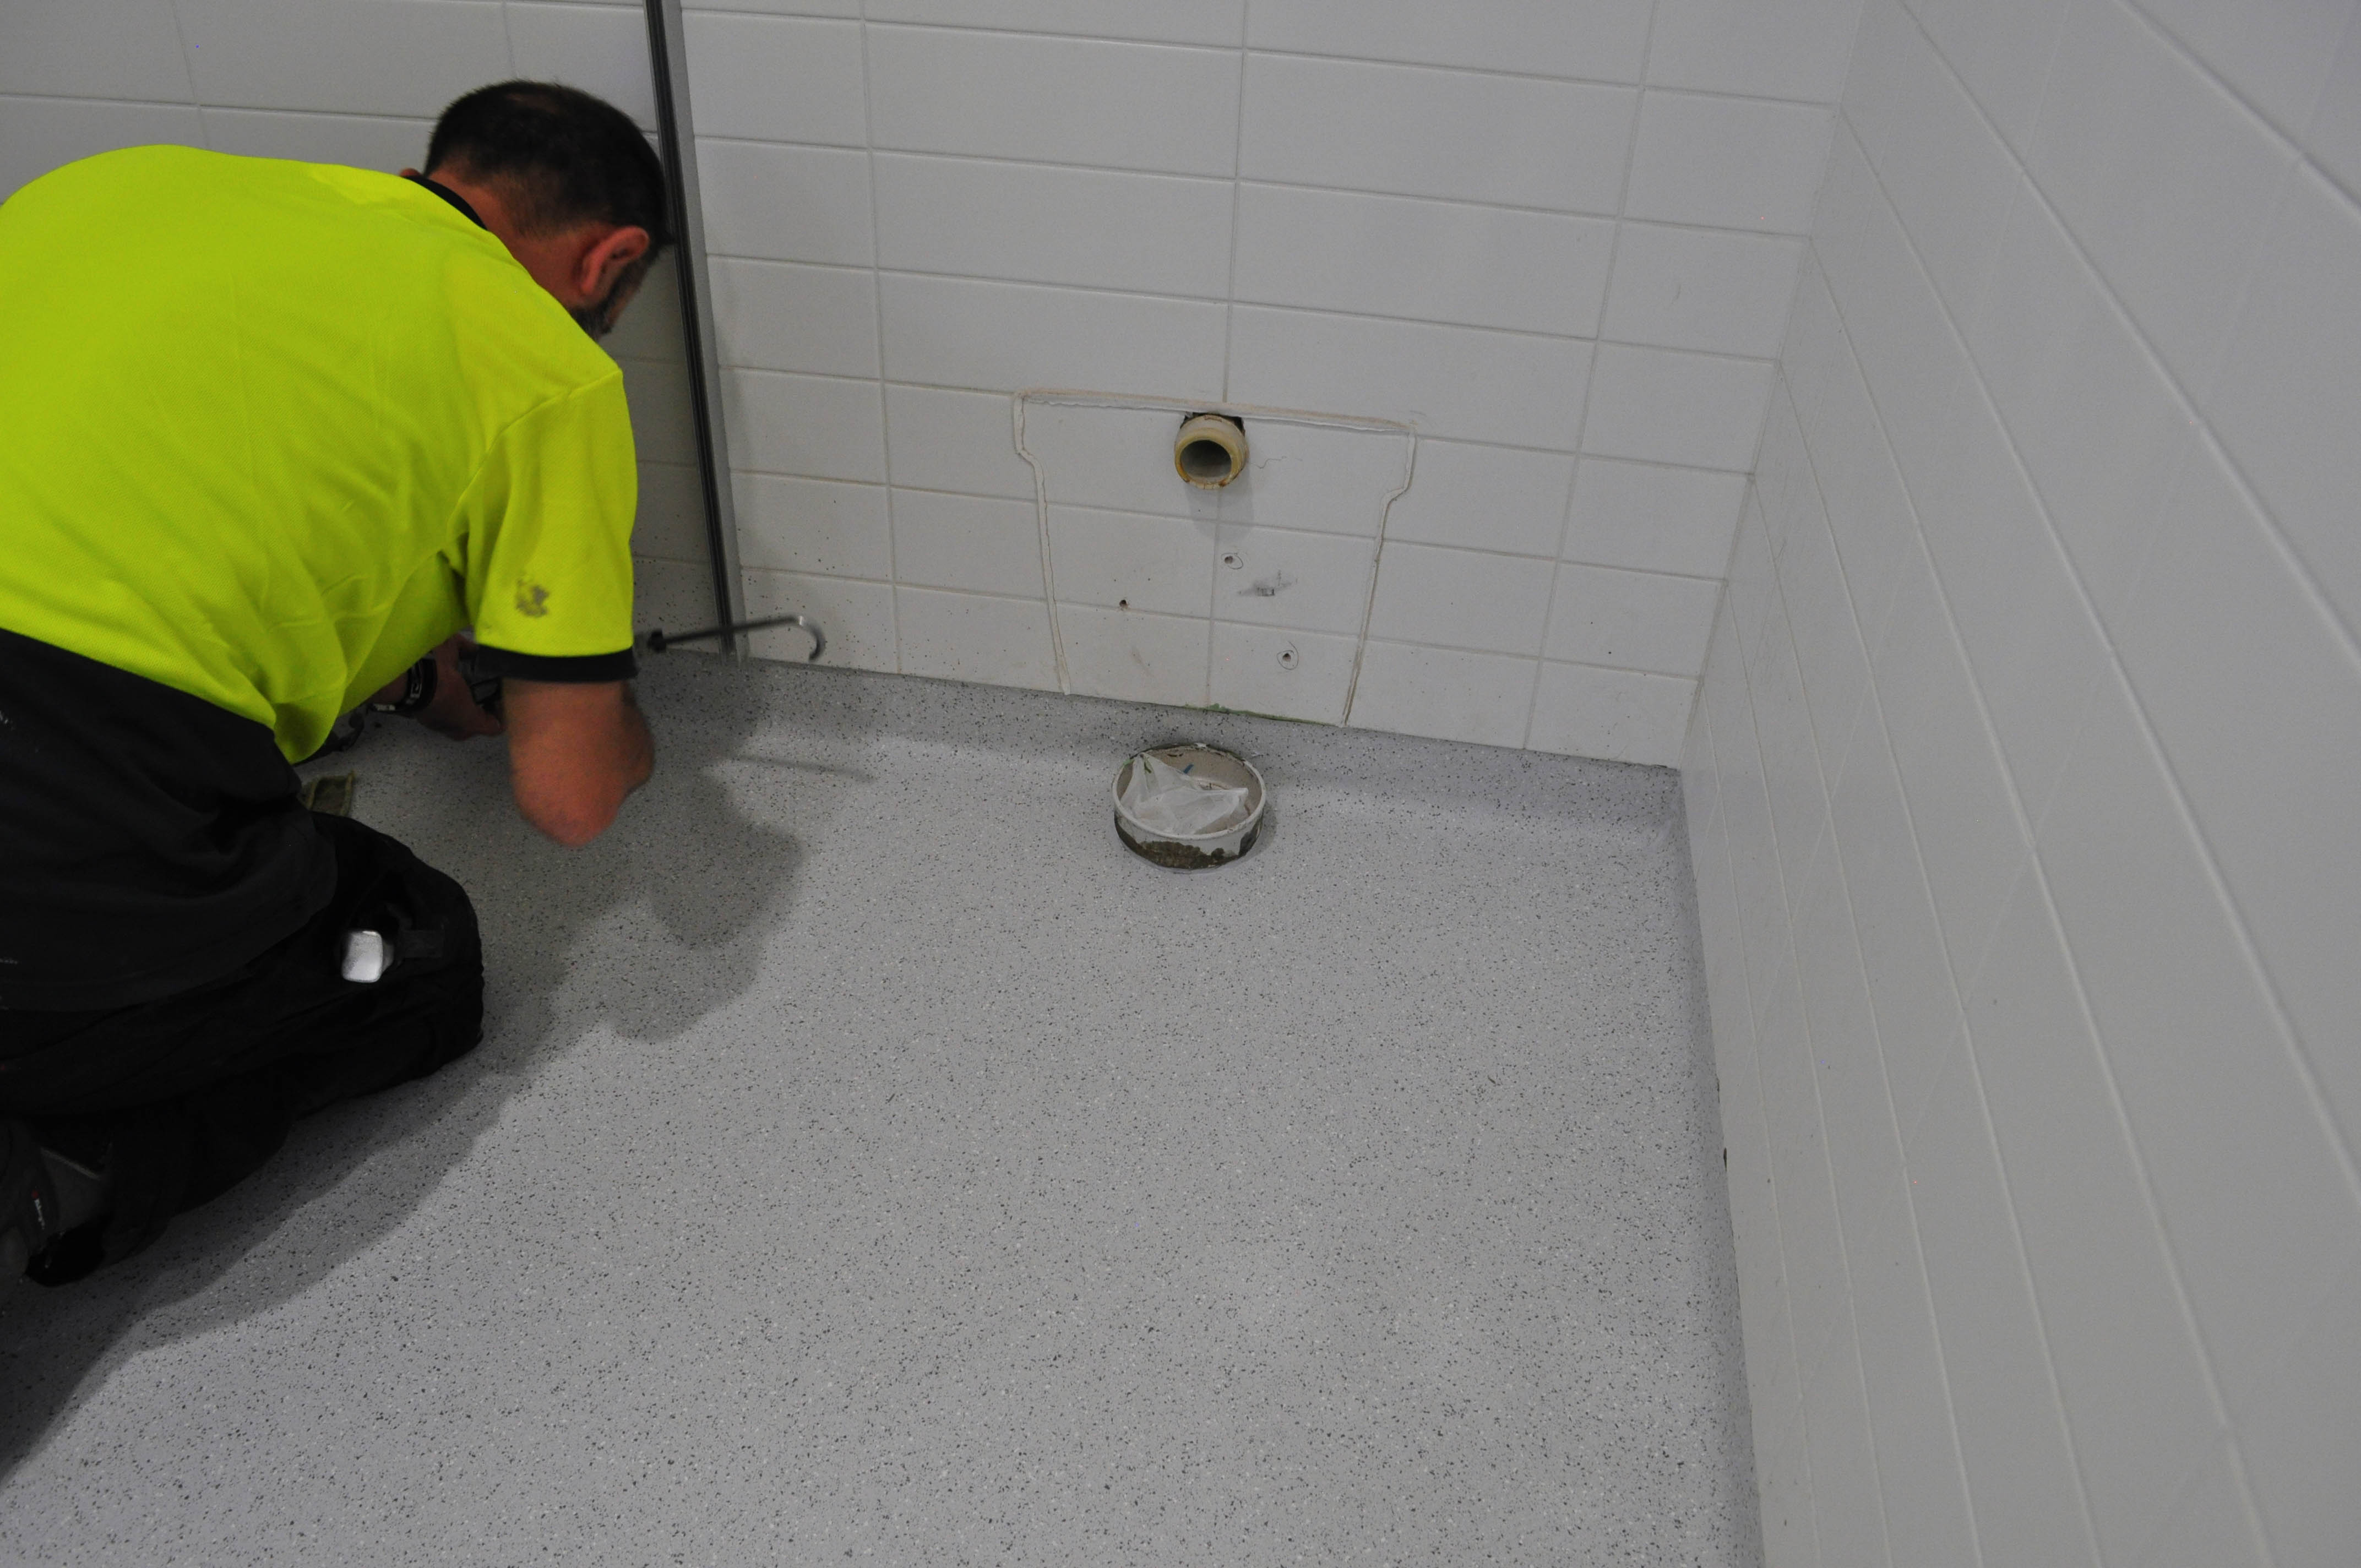
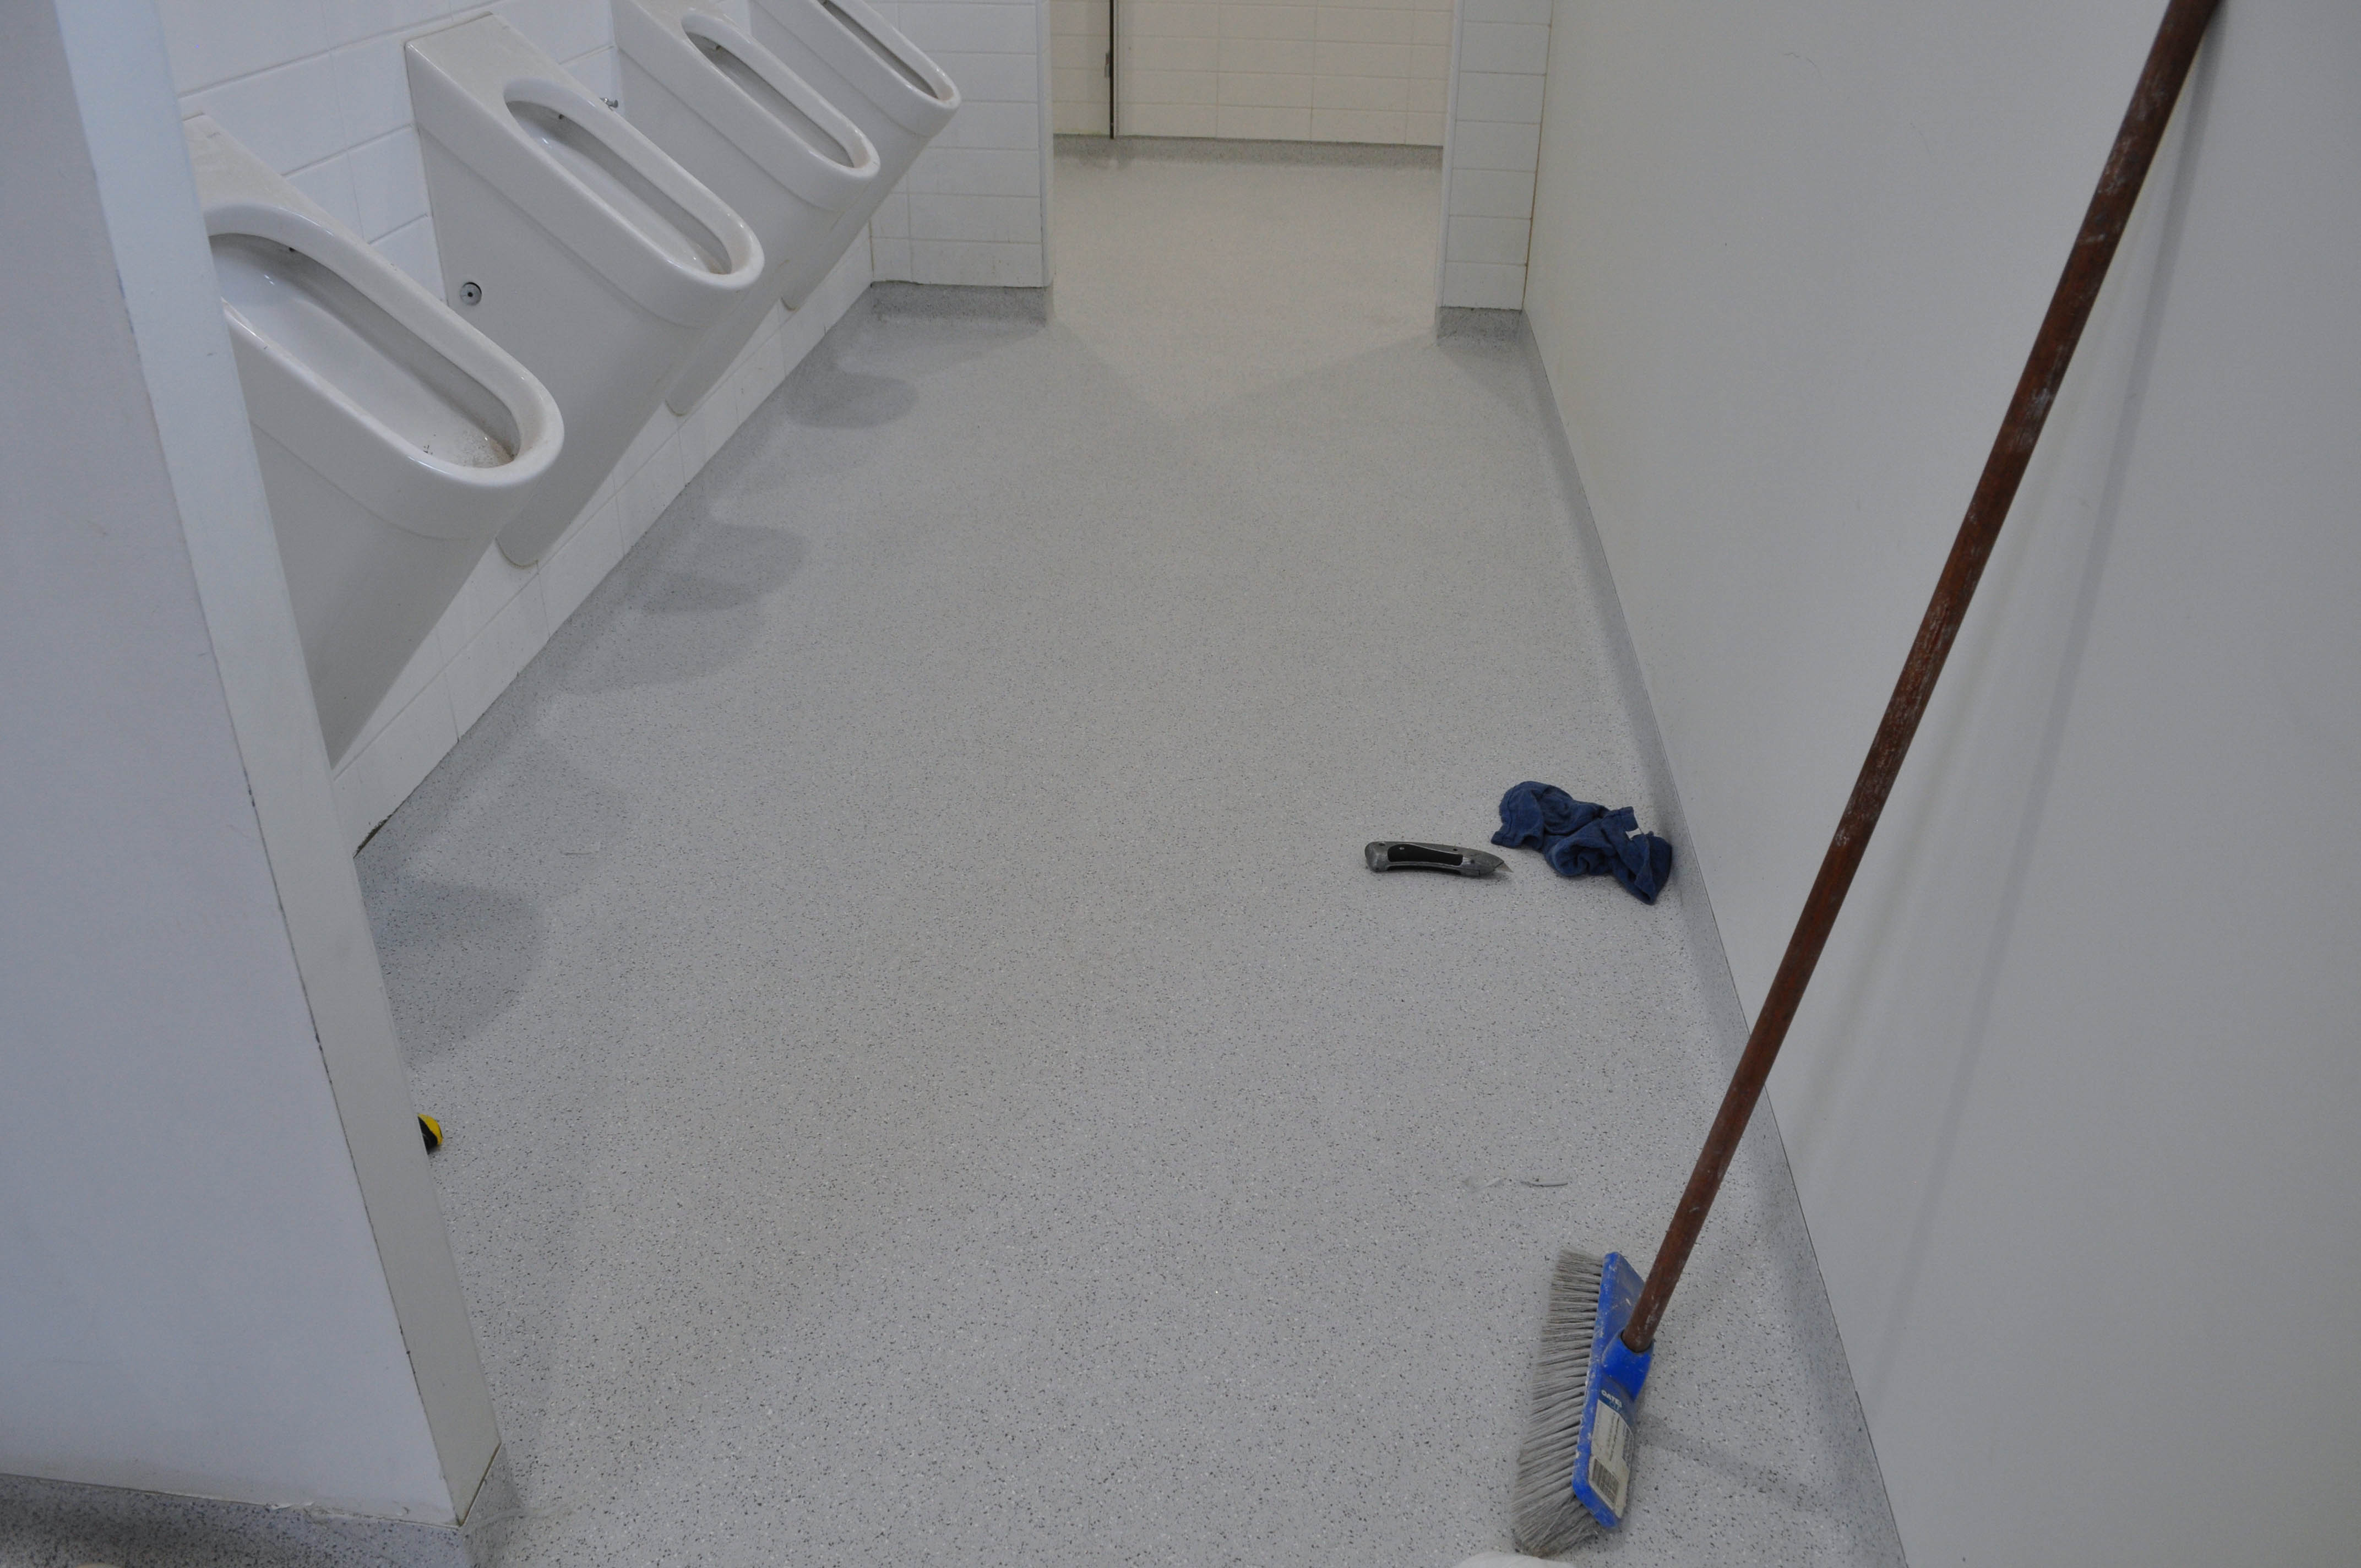
If it is a concrete floor the after a good scrub or grinding and clean, most of the time a concrete primer is applied to seal the concrete and be a base onto which the self leveling compound can adhere to. When a primer is applied the bond between the self leveling compound and the concrete is many times stronger than without it. There are many choices on offer in the market for these primers. Consult with the seller which ones are compatible with the self leveling compound that will be going on top of it. Once you have applied a coat of primer onto the concrete floor it will take about 5 hours to dry befor you can apply a coat of self leveling compound.
After the primer has dried apply the self leveling compound. The self leveling compound is in powder form, mix it with water pour it onto the concrete and let it run on its own.
Below are pictures of some primers and self leveling compounds.

There are occuptional health and safety (OHS) issues involved in this excercise of floor concrete polishing. The ISSUES are: the protection of your lungs from dust (you must wear a mask), eyes (you must wear eye protection) and hands (you must wear a gloves).
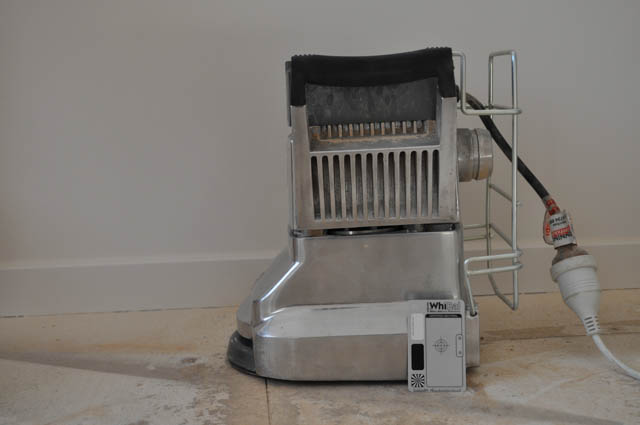
The machinery and equipment profile: metal bond tools and resin bond tools, the vaccuum system (the vaccuum itself, the wand and the hose), the concrete grinder, concrete hardness scratch testers
To keep the dust down to a minimum while sanding the grinder has a dust skirt that attaches to the vaccuum system. This skirt is adjusted to be as close to the floor as possible while the grinding and polishing processes are taking place.
The hardness of the concrete surface is to be measured with a scratch test using a small steel pick manufactured for this purpose. On the results of this test the rating of the metal bond tool to be applied is to be selected. The appropriate metal bond tool is then fitted to the grinder and the dust shirt is attached to the vaccuum hose and the grinding first pass is done. To keep the dust level down and to stop the grinder from leaving dust on the ground frequently check on the filters of the vaccuum cleaner.
After the first pass or cut with an on average 30/40 grit tool the floor will look good. A second cut is done with a finer tool, 70/80 grit. At this stage concrete cracks might appear. These cracks can be filled and subsequently filled with a concrete repair filler. These repairs are then sanded back.
The second cut with the 70/80 tool will leave behind scratch marks which need to be removed. A third pass is then made with a finer transition tool of grading 100 grit.
The floor now looks perfect and as the top of the surface of the concrete slab has been ground off this surface is now soft and porous and it needs to be hardened. This is done with liquid lithium silica densifiers. The densifier is sprayed onto the concrete and spread with a microfibre applicator. The amount used should be enough until the concrete rejects any more at the 20 to 30 minute time from time of first application.
A fourth pass is now done using a 200/400/800 grit tool. This will buff the floor and give it your desired sheen from dull with 200 grit to gloss with 800 grit.
The final step is the add the floor protection liquid sealer. the process here is the same as with the densifier. Two light coats are all that is needed and care must be exercised not to use exesive amounts.
Allowe 3 days for the sealer to cure before using the floor.
